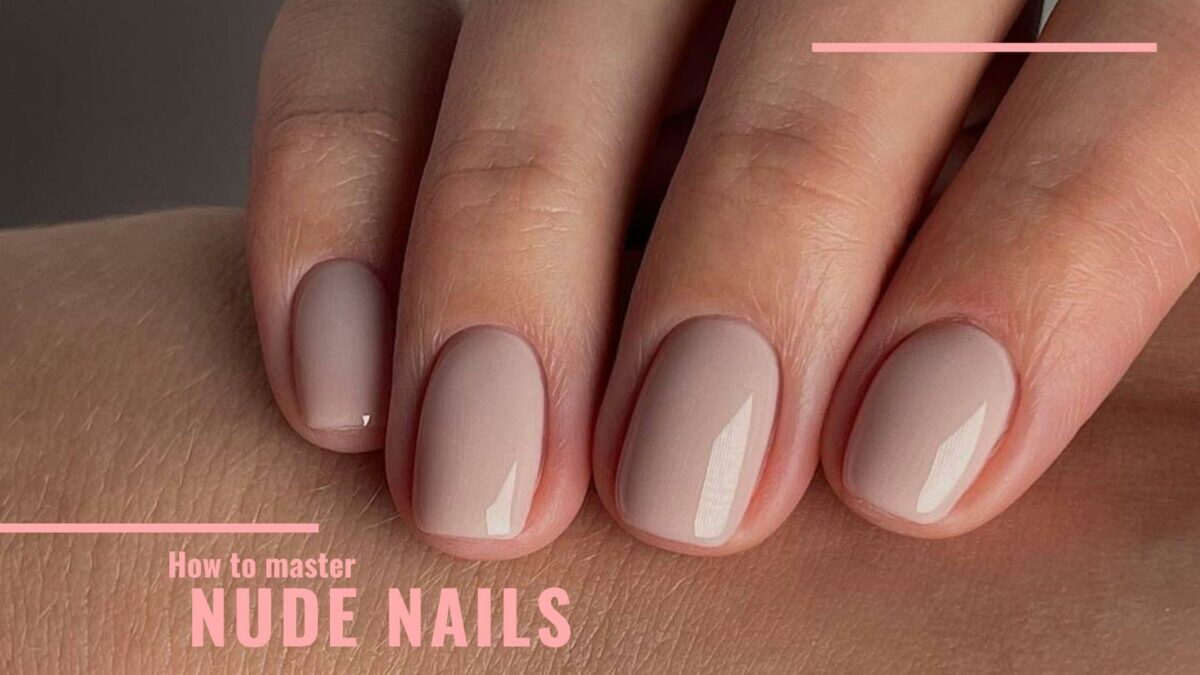
Nude nails are an all-time classic. They always stay in style – you can wear them for work, for a wedding, or daily.
Even though it might seem like you are not wearing nail polish at all, there is nothing better than well-polished and neat nude nails.
Interested? This guide shows how to do nude nails like a pro in the comfort of your home.
Why Nude Manicure?
While you might see nude manicures everywhere now, you need to know that the trend is not new.
After all, a nude or “no-manicure” manicure is timeless and classic for a reason. You can compare it with your favorite nude ballet flats – they go with everything, and you can wear them daily, for work, or a night out.
It is the same with nude nail polishes. Nude nails are elegant and sophisticated, making your fingers look prolonged and soft.
Things You’ll Need
When you decide to do the manicure at home, you need some things:
- a nail clipper
- nail buffer
- cuticle pushers and removers
- nail file
You will also need a base coat and a top coat for your manicure. Choosing the perfect nude shade is crucial for elegant and tidy manicure results.
How To Do Nude Nails: 5 Steps to the Perfect Nude Manicure
Step 1: Prep Your Nails
Your nail care routine should start with preparing. Just like you prep the face before doing your makeup, you need to clean the nails with lukewarm water.
- Trimming The Nails
Nude nails are typically associated with short nails. This separates them from a classy French manicure, which is done with longer nails.
RELATED: How To Do A Perfect French Manicure On Short Nails (4 Tips)
Trim the nails by using clippers. You don’t need to clip them all the way but leave approximately 1/8 inch above the tips. This way, you get comfort and chicness in one.
- Pushing the Cuticles
If you have problems with cuticles, moisturize them and use a pusher to make them even and your nail beds bigger.
- Filing and Shaping The Nails
File the nails to shape them to the desired look. You can choose between many different nail shapes. Since this is a short nail look, go for a round, oval, square, or almond shape.
They all look great with nude nail polish shades.
Choose a nail file that is not too harsh for your nails. Avoid metal ones and those that can cause chipping.
- Moisturizing Hands
Before hopping to the next step, apply a moisturizing hand creme to your nails and fingers, and don’t forget the cuticles.
Step 2: Choose Your Base Color
Choosing nude polish depends a lot on your skin tone or undertone. You must determine your skin tone and undertone before picking that perfect nude, neutral shade for your manicure.
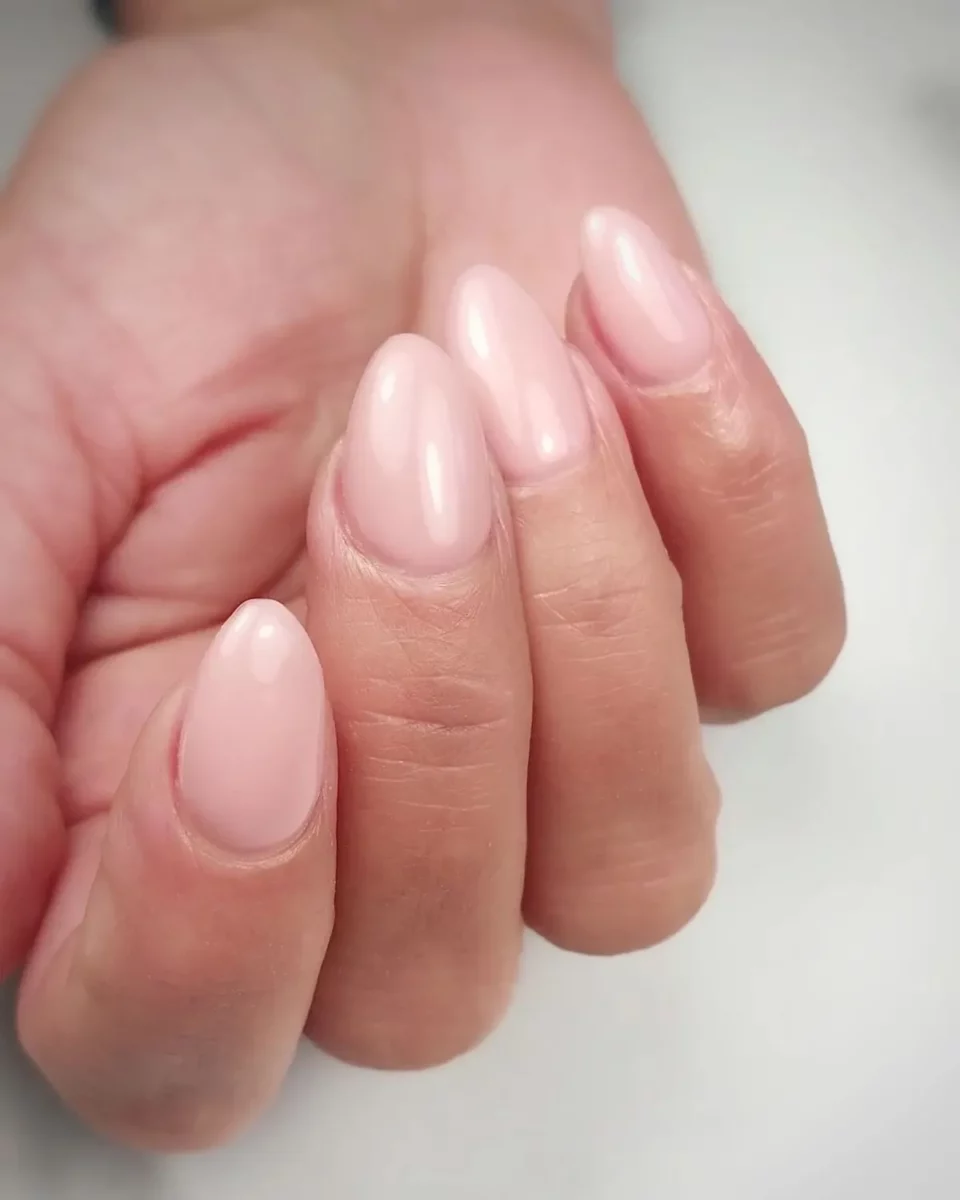
- If you have pale skin with cool undertones: sheer pink shades won’t appear too yellow against fair and pale skin.
- If you have pale skin with warm undertones: opt for pink beiges, shades balancing between the sheer pink and beige nude shade.
- If you have a medium skin tone: creamy beiges are your go-to.
- If you have an olive skin tone: peachy nude shades will enhance olive skin tones.
- If you have caramel skin tone: since this skin tone can wear multiple nudes, you can choose anything from dusty pinks to pink latte tones.
- If you have a dark skin tone: this skin tone can pull off almost any nude shade, from mauve and dusty nudes to chocolate nude shades.
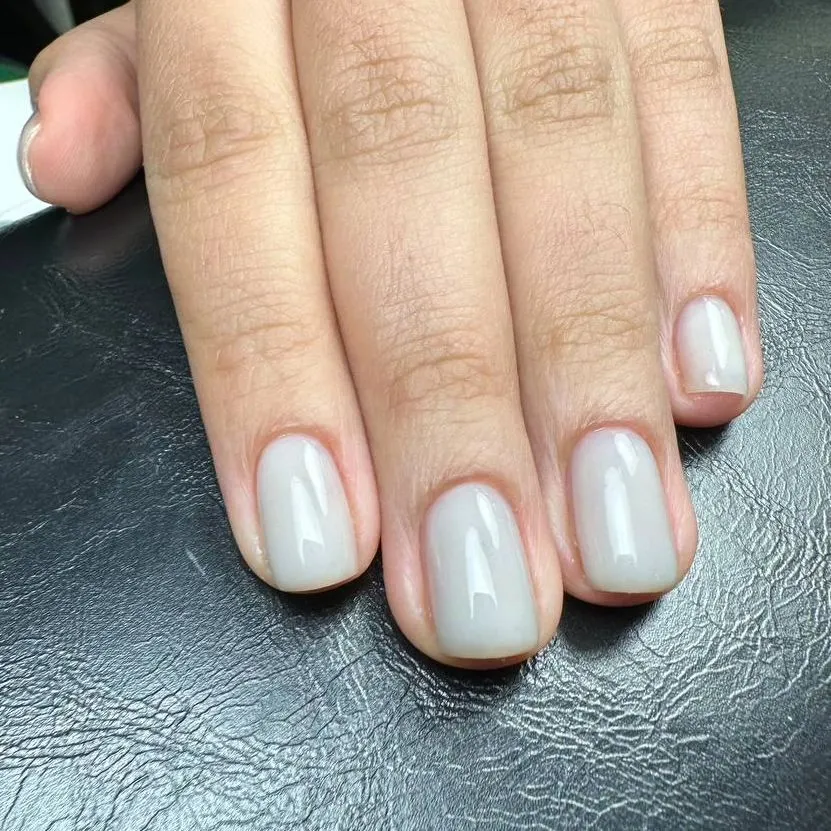
Different Types of Nude Shades and Finishes
Nude shades will surely give you different vibes, but always aim for more. Choose between two finishes and take your nails to the next level.
- Glossy Finish
Neutrals are great for any occasion. However, if you want to make them even more elegant and eye-catching, you can choose nail polish with a glossy finish. Besides, you can also combine regular nail polish colors and use a glossy top coat.
- Matte Finish
Matte nails are modern and very minimalistic. This style also offers extra protection to your nail beds since it will prevent nail color from chipping.
Step 3: Apply Your Base Color
Applying a base coat might seem like extra work, but it can make a huge difference. A base coat is what makes your manicure strong, color long-lasting, and after all, it protects the nails.
You will only reach the full effect of your nude nails when you apply a good-quality base coat. You can choose between regular ones or those targeting some concerns, like strengthening nails, filling ridges, making cuticles stronger, etc.
Step 4: Applying Nail Polish Layers

Applying the first layer of nail polish is something you should do after the base coat is completely dry.
When it comes to light nail hues, they can show off all the bumps on your nails. Their nude color should be applied well for even coverage and bumps-free.
For an even coverage of the nail, you should start with one layer and allow it to dry completely before applying the next one. Use light but quick strokes to ensure the polish is evenly distributed across the nail.
Start in the middle of your nail, and then do both sides. For this, you will usually need three strokes with a brush. Hold the brush at the midway point on the cap for more control.
Adding additional layers is not necessary but is recommended. That is how the color will be more opaque. If that is what you prefer when doing nude nail art, wait for the first layer to dry completely and then apply the second one.
Step 5: Apply A Quick Dry Top Coat
Ensure your nails are completely dry before moving on to the top coat. However, you can also find quick-drying top coats, so you don’t need to wait that long to finish your manicure. Apply one layer of top coat and let it dry completely.
The top coat is great for keeping your nail color longevity and look. It protects your nails as well. The top coat usually adds that glass-like shine to your nails. You can also opt for a matte finish or a glossy shimmer.
Maintaining your Nude Nails
Don’t Bite Nude Nails
We don’t need to say it but don’t bite your nails. You certainly don’t want to waste your precious time doing your manicure.
Biting nails is a bad habit for many people, so don’t let your manicure get destroyed, not to mention the bacteria that can spread easily.
Moisturize Your Hands
Washing your hands, doing your dishes, sanitizing them – these all dry out your hands. Not to mention how bad they can be for your nails as well.
Before bed, use a cuticle oil and massage your hands with a good and hydrating creme. You can even find different kinds of hand masks that you apply along with gloves.
Short and Sweet
Keeping your nudes short is the right thing to do. Round-and-short is the best nail shape for nude nails and for doing your daily activities.
You can use a crystal file to gently shape your nails, even when manicured.
Do Some Resurfacing
When you want to do a touch-up of your manicure, you need to be extra careful. It becomes quickly visible when the nail is chipped due to the polish raised off it.
Instead of painting the entire nail with a fresh coat of color, do a touch-up. Wipe off the brush on the inner corner of the bottle and dab over the chip. It will flatten the surface enough so your nails don’t look lumpy and messy.
Conclusion
The naked nail trend is here to stay. Alongside no-makeup makeup, the nude nails exemplify the shift towards natural beauty.
Women wear nude nails not only for their daily manicures but also for special occasions. The red carpets at Golden Globes and Critics Choice Awards were full of actresses wearing nude nails and minimal makeup. That is how popular nude shade is.
It is all about choosing the right shade of nude. Look at your face, and learn about your skin tone and undertone.
Then equally important is the application. If you follow the steps above, your nails will look flawless. All that without even going to the salon. Is this really possible? We say – yes.