Goddess braids are one of the most popular protective styles. They are not new, though. If you look at some pictures from the past, you can undoubtedly see that women are wearing them for centuries. They date back to ancient Africa as a symbol of creativity and art.
Many women wonder how to do goddess braids. This article will describe the process and provide some tips helping to create this gorgeous style.
What Are Goddess Braids?
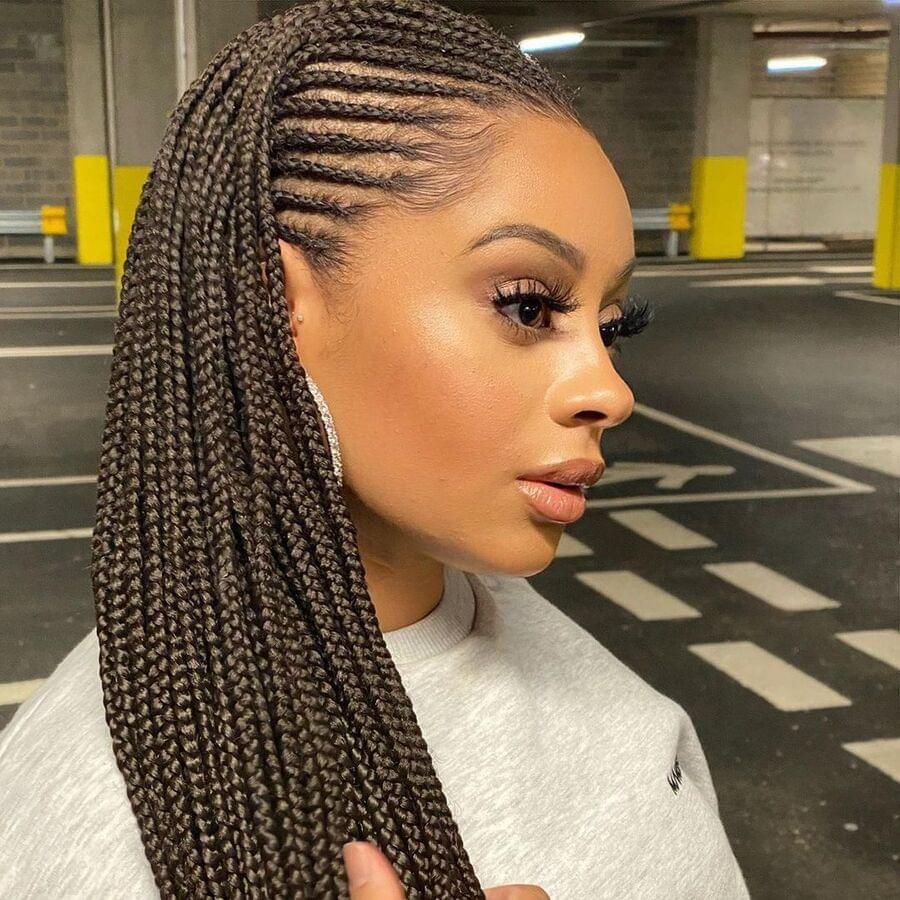
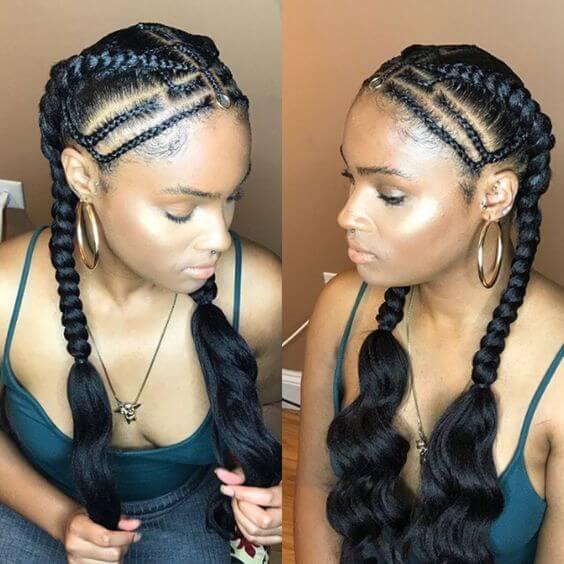
First of all, let’s start with the basic question – what are goddess braids? Many don’t know how to distinguish them from other types of braids. Goddess braids are feminine versions of box braids. They feature long, cornrow-style braids with curly ends.
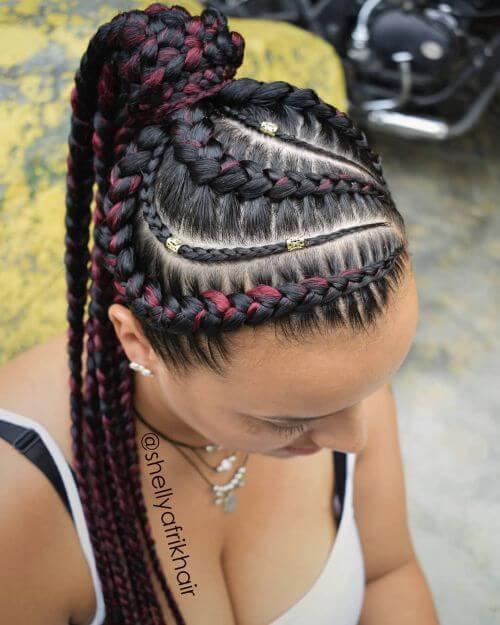
These braids lay flat to the scalp. While some like to wear them big, others opt for smaller patterns and more braids. The most significant difference between cornrow and goddess braids is size and position on the head. The goddess braids are thicker and raised higher on the head.
What Do You Need?
You will need the following things to do perfect goddess braids:
- Sulfate-free shampoo
- Moisturizing conditioner
- Edge control
- Styling gel
- Wide-tooth comb
- Rat-tailed comb
- Clips and rubber bands
- Brush
- Waving hair
- Hair glue
- Scissors for excess hair
How to Choose Right Extension Hair?
To make goddess braids, you will need two types of extension crochet hair. First, you will need braiding hair for the texture and waving hair for the curly ends.
Braiding Hair
The kanekalon hair is the best possible braiding hair that gives your braids the best texture. Many brands make great synthetic braiding hair. You just need to pick the one that suits you.
Wavy Hair
Wavy hair can be both synthetic and human. Wavy human hair costs more, but the results are better than if you are braiding with synthetic.
How Much Braiding Hair Do You Need?
As a general rule, you will need 5 to 7 packs of braiding hair for your goddess braids. This all depends, of course, on the size of your head, braid size you want, and length of your hair.
On the other hand, you will need much less wavy hair. Only one or two packs will be more than enough for your goddess braids.
Preparing Your Hair
Before starting with any protective style, you need to make sure your natural hair is well prepared. Remember, some styles like goddess braids can stay for 4 to 6 weeks, so it is crucial to protect and prepare your natural hair so it can grow.
Washing
Cleaning your hair and scalp is an unavoidable step you should do before braiding. Many women wonder how to do goddess braids impeccably – good preparation of your natural hair is one of the key things.
Use a shampoo that is mild and without harsh ingredients. It should be sulfate and paraben-free. Wash your hair thoroughly, focusing not only on the length but also on your scalp. You won’t be able to clean your scalp as long as you wear your braids.
Conditioning
Conditioning your hair will not only restore moisture but also is a perfect time to detangle your hair. Whether you have oily or dry hair, make sure the conditioner is appropriate, with or without nourishing oils.
Once you have evenly distributed the conditioner on your hair (with a wide-tooth comb), you can rinse it off with lukewarm water.
Applying Leave-In Product
Many women opt for a leave-in product that comes after conditioner. These kinds of products will lock your hair’s moisture and keep your hair healthy while wearing goddess braids.
Apply the product using a wide-tooth comb and make sure all your strands are covered.
How to Do Goddess Braids?
Now, when your hair is prepared, you have chosen the braiding hair and got everything that you need, you can make goddess braids.
- Start with parting your hair into smaller sections and braiding it. If this is your first time doing the braids, then opt for bigger ones. It won’t take too long to create the look.
- This method consists of braiding about an inch of your natural hair and adding the braiding hair along the way. You should also add wavy hair.
- When you have braid a wavy hair into the braid, use a clip to take it away from the rest of your goddess braid. This makes it stays out of the braid, loose and free.
- This creates a style that is messy and cute.
- When you come to the very end and want to secure the braid, use super glue. Take a strand of hair and create a knot.
3 Methods of Crocheting Goddess Braids
There are crochet and no-cornrow methods of braiding. The traditional way of braiding your goddess locs can take a while. That is why we share some other interesting techniques to try.
All these methods start with braiding your natural hair first, then adding more braiding hair.
- Pull Method – With this method, you insert the crochet needle into a loc and then pull the hair through it. This method is easy and suitable for women with curly locs.
- Braid-in Method – You put the crochet loc around the braid base of a single section of hair. You continue by splitting the hair in two, then use hair and loc to make your goddess braid.
- Knotless Method – This method consists of pulling your hair into two pieces and then putting one piece into a crochet loc loop. Continue braiding the hair to secure the loc.
How to Do Goddess Braids with Curly Ends
One of the main characteristics of goddess braids is their curly ends. This is one quick step-by-step guide on how you can create this style.
- Prepare all the products you need – cream beeswax, shine hair jam, combs, and clips, and braiding hair.
- Part and secure hair around your hairline.
- Moisturize your hair with the beeswax gel before starting to braid.
- Start braiding by looping braiding hair around your natural hair and then continue weaving.
- You can add more hair as you braid, which will make your braids longer.
- Once you come at the hair end, stop braiding and leave them loose and curly.
- You can secure the ends with elastic bands or accessories or simply leave them like that.