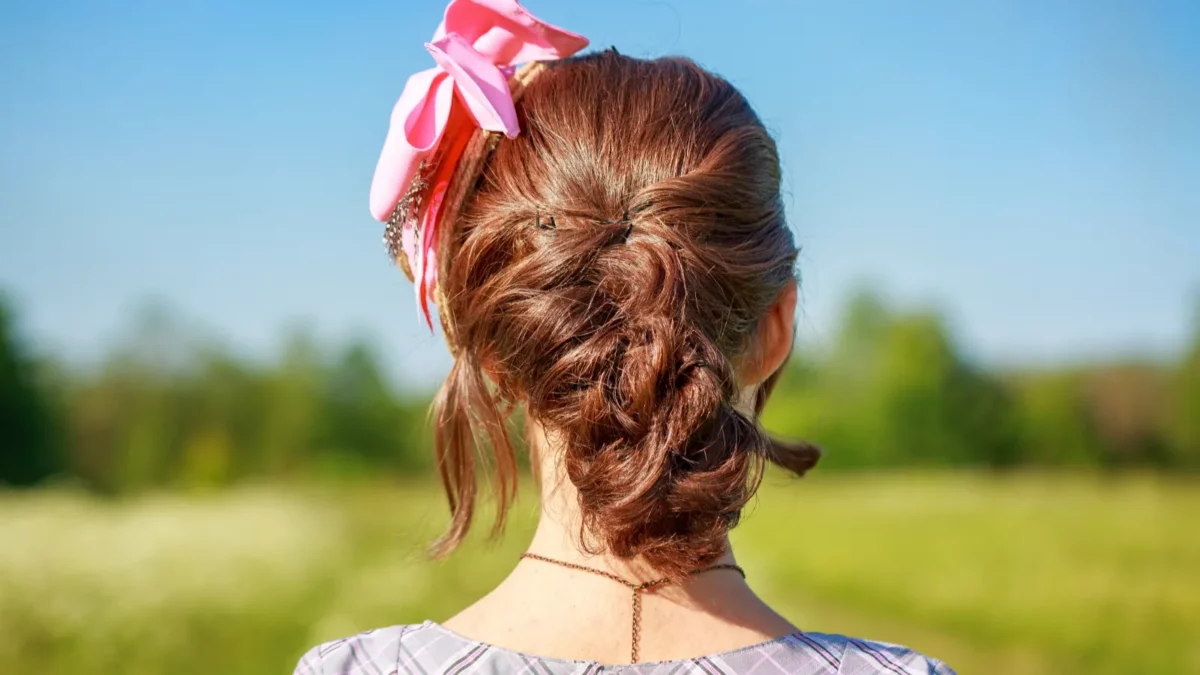
Many women have heard of butterfly braids, but not all of them know what they actually are. Butterfly braids are one of those gorgeous, beautiful protective styles that many admire.
The butterfly braid is made up of two large braids from each side of your head, then gathered in the back into one big single braid. It got its name after a butterfly. When you see the braid, it simply reminds butterfly wings.
How to Create a Butterfly Braid (3 Tutorials)
There are many ways you can style and wear butterfly braids. From free butterfly locs to voluminous and long crown braided hairstyles. We picked three excellent tutorials showing how to create a butterfly braid. Let’s check them out.
#1: Wearing Butterfly Locs
This is one of those looks that work perfectly whether you have long or short hair. You will need a crochet needle, waves, and some hair gel to achieve this butterfly locs look. This style will take five or six hours of your time, so think about that as well.
You should take a few strands of crochet hair and pull them out. Use two strands for starters. Use your crochet needle to pull the hair through your braid. Twist it three or four times at the root, and then wrap it all the way to the hair ends. Wrap it a bit loose so you can get a butterfly braid effect.
When you reach your hair ends, start wrapping it back up; that is how you will lock it and have all other locs in the same length.
After you have crocheted the whole hair, you can work on your edges and add a bit of hair gel. Use a toothbrush to get the desired shape.
#2: Creating Butterfly Braid Crown
You will enjoy this hairstyle whether you are going to some casual or formal event. You should prepare your hair by braiding it. Make a side sectioning and braid all the way down to the hair ends.
Take crochet hair, and split it in two, and cross them over each other. This way is great if you want to pin the hair rather than sew it.
Now that you have created a chain link of crochet hair, you are going to separate three equal parts of it. Braid it loosely since that is the only way to get a butterfly effect. You can then separate the braid to create a butterfly effect. Pulling the hair from random spots on the braid will add that casual, messy look to it.
You can choose how you would like this braid to stay on your hair – by using bobby pins or sewing it.
When you have attached the braid at one side, make sure to prepare the same braid for the other side of your hair as well. Gather the braids at the back. Separate the hair and make it messy.
Add some gold accessories to enhance the final look of your butterfly braid.
#3: Making Protective Butterfly Braids
This is the tutorial you should check out If you want to create a butterfly braid effortlessly and easily.
Start off this look by sectioning your hair into two equal parts and braiding it. Leave a few strands at the crown so you can easily attach your crochet hair and braid it into a butterfly braid.
When you attach your hair, you should braid it and create a loose braid. You can choose the length as much as you want to braid.
Do the same thing with the other side of your head. Attach the crochet hair, braid it, and secure it.
Pull out the braid to make it look messy and loose, and then use a needle and a thread to sew it to your crown. Do this with both sides of your head.
Now it is the time to gather both of the braids in the back. You can even unbraid them a little so you can bring them together better. Make your braid more on one side. Pull out the hair to make the butterfly effect.
Take care of your baby hair. Curl it with a curling wand or smooth it with hair gel. Use a small brush to create the desired shape of your baby hair.
