Nail tips are a brilliant way to get salon-looking manicures at home. I have always loved the look of long nails, yet I have never been able to grow mine out. I tried to grow my naturals for years, using builder gel to help… but they always would chip and break.
Thankfully, I discovered the joys of press-on nail tips and now swear by them. I have found them less damaging to my nails than gel or acrylics, and they are super easy to use! Plus, having long nails mean I have more nail space to try out funky designs.
So, how to use press-on nail tips, and how to get the most out of them? Let’s look at my step-by-step guide.
How To Use Press-on Nail Tips
To do your manicure with press-on nail tips at home, you will need the following:
- Clear press-on nail tips.
- Nail glue.
- Top coat.
- Bottom coat.
- Gel polish.
- Nail file.
- Nail clippers.
- Nail buffer.
- Nail wipes or cleanser.
- UV lamp.
You can get various press-on nail tips from online and high-street stores. Check the reviews online to find the best ones for your budget. I usually buy tips already in the almond or oval shape because this makes the manicure so much easier. I don’t need to trim or shape the tips, as they are ready to use!
I suggest investing in nail glue that cures under a UV lamp. I use the UV cure nail glue from Beetles, which is much stronger than regular nail glue. I have found that my manicure lasts up to two weeks when using this nail glue.
You can use regular polish on the nail tips if you want. However, using gel will make your nails stronger and long-lasting.
Press-on Nail Tips Guide
So, what do you need to do to get your dream manicure with press-on nail tips?
Step 1: Prep Your Nails

The first thing you need to do is prep your nails. This means you have a clean base for your manicure, helping the glue stick the tips onto your nails.
Take a buffer to your nails and brush off any oil or dirt. Get rid of the oils with an alcohol or acetone-based solution. Then, push your cuticles back. You may wish to cut off any excess skin using your nail clippers or scissors, but be very careful!
Once you have prepped your nails, cleanse them.
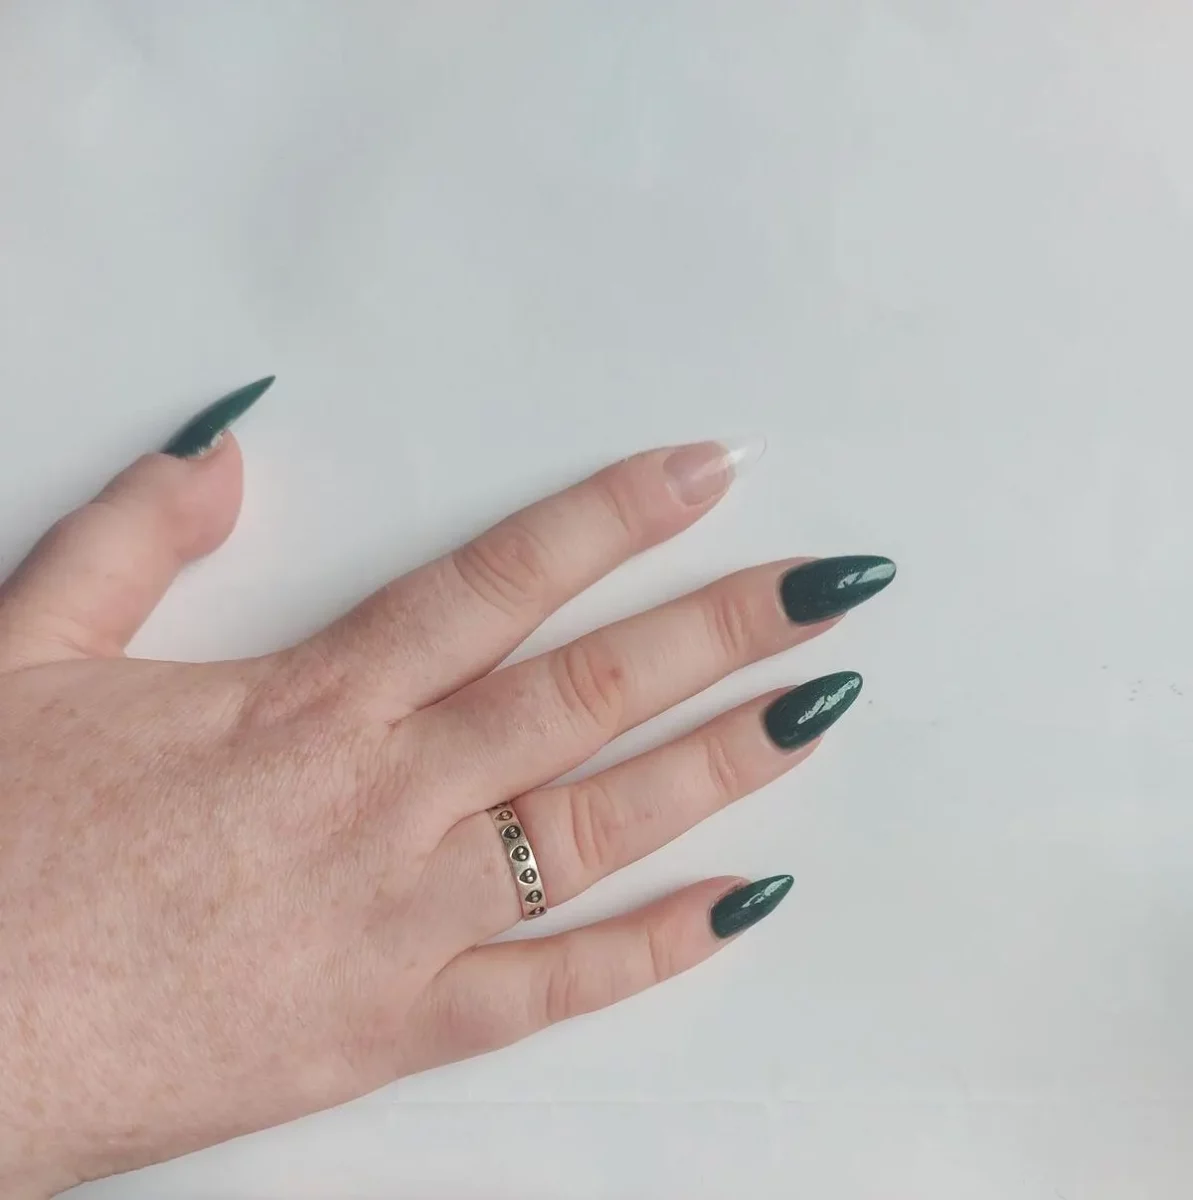
Step 2: Apply the Nail Tips
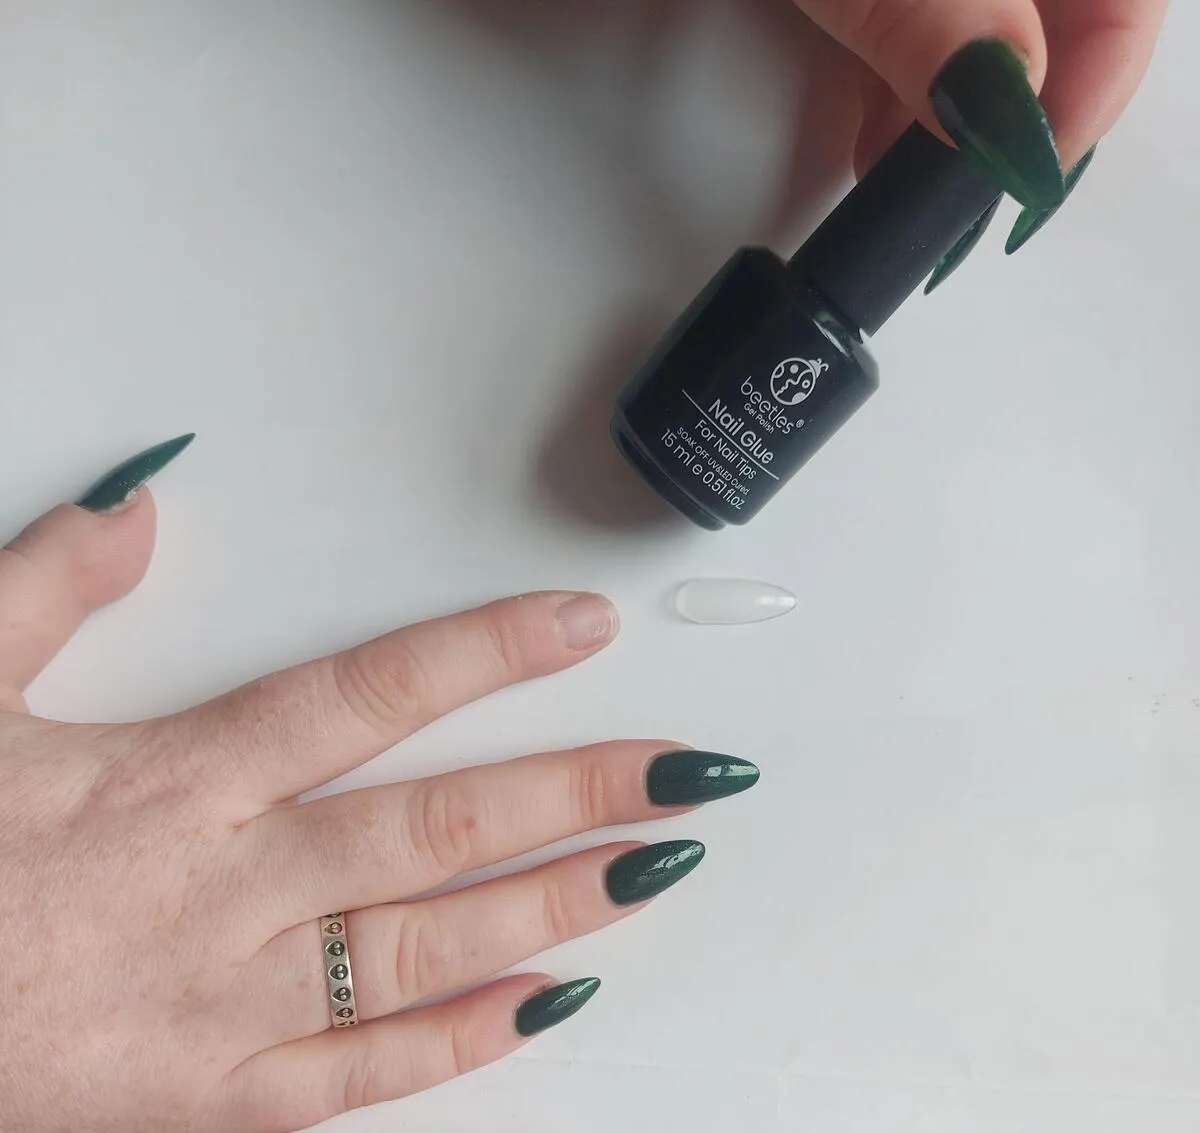
To get the best manicure, make sure you are selecting the right tips for your nails. Most packs of nail tips come in a range of ten different sizes, which means you can find the correct sizes for each of your nails.
Pick the tips and place them on your nails, trying them out for size. Once you have the suitable dimensions, it is time to apply them!
If you use regular nail glue, apply a small amount to your nail and press on the tips, holding them in place for five seconds. If you are using UV gel nail glue, you will need to do them individually. This is much more time-consuming, but it is worth it!
To use UV gel nail glue, apply a small amount of glue onto the base of the nail tip. Place the tip onto your nail at an angle, starting at the base. Then, while holding the nail in place, flash cure the nail for 15 seconds in your lamp. After doing this for each nail, cure them all together for 60 seconds.
Step 3: Shape the Nail Tips
Once you have your nail tips on, it is time to shape them! If you are using shaped nail tips, you can skip this step.
Cut the nail tips with your clippers a little longer than you want. Then, use your nail file to shape the tips how you wish. If you are going for a stiletto look, you will need to cut the sides of the nail.
Step 4: Apply Your Gel
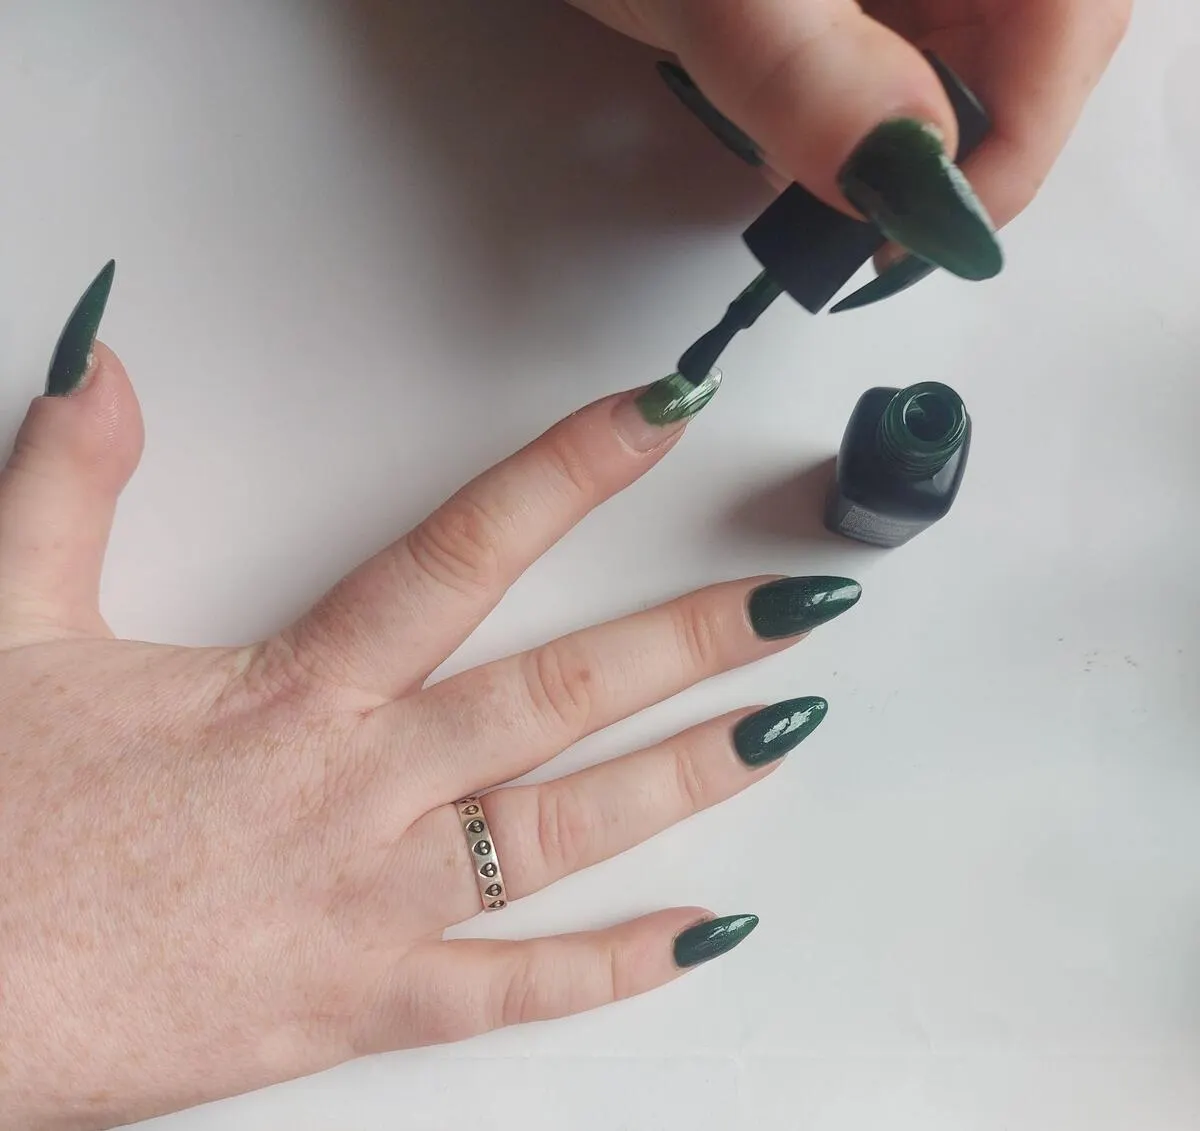
If you know how to do gel manicures, the next bit is pretty simple. The process here is the same as with your natural nails!
Apply a base coat to the nail tips and cure. Then, select your colors and apply a few layers to your nails. Once you are happy with the colors, apply a top coat and cure.
How To Look After Your Press-on Nail Tips Manicure
Like any other manicure, looking after your nails after applying nail tips is essential. I swear by cuticle oil and nail cream to keep my natural nails strong and healthy.
If a nail falls off, you can put it back on. You must cleanse and prep your nail again to ensure the glue sticks.
After a week or so, the nail tips usually come off easily. However, do not pull on the nails to get them off. If your tips are really stuck on your nails, and you want them off, soak them in a bowl of warm water and use nail polish remover.
Press-on Nail Tips Inspiration
Press-on nail tips mean you can express yourself with your nails, using different shapes and lengths depending on what vibe you are after.
Let’s look at some of my favorite designs I have done recently for myself and my friends!
Starry Nails
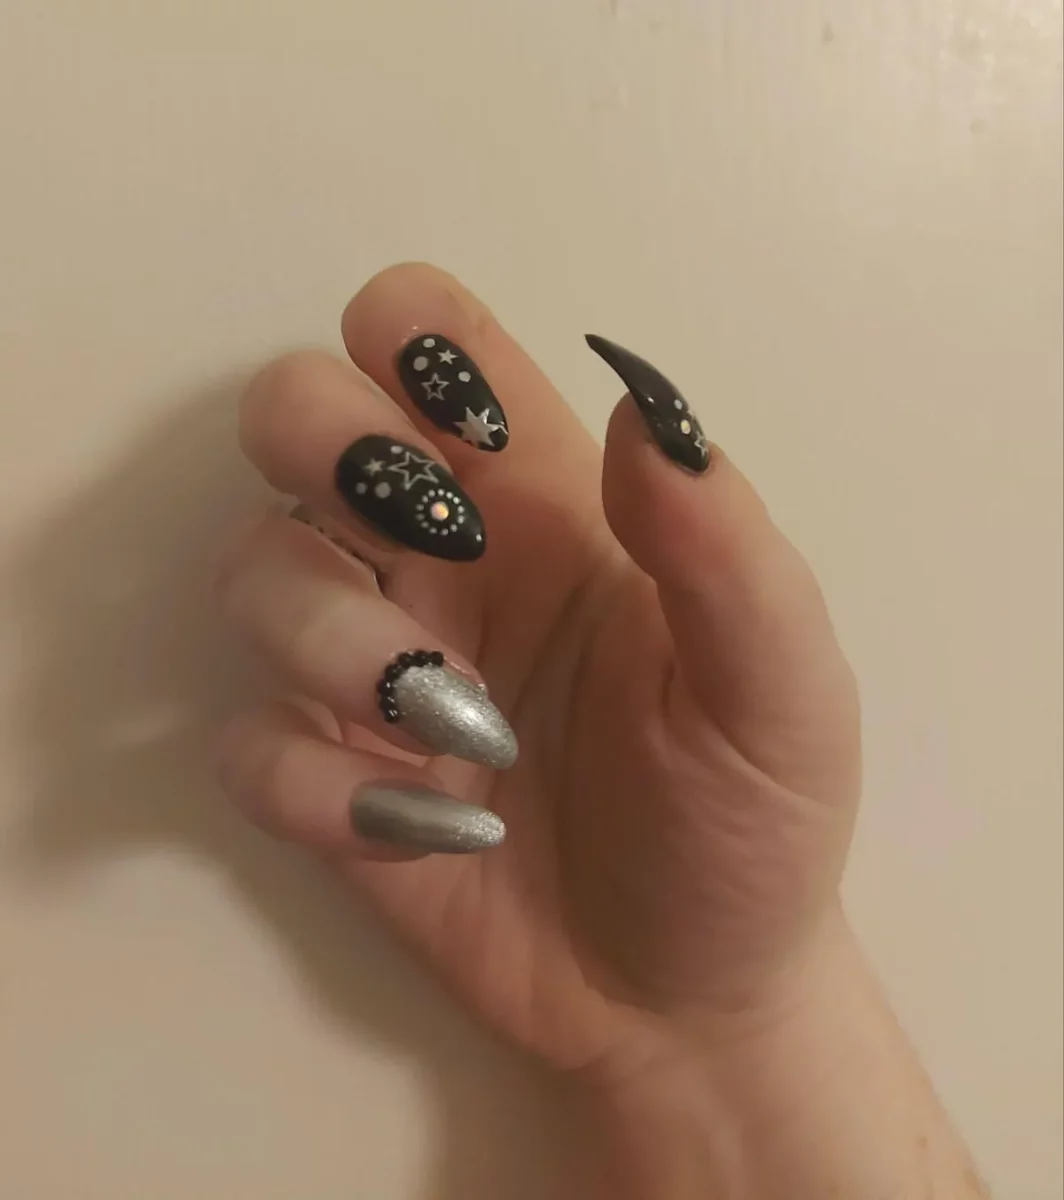
I did these nails a few months back, and they are one of my favorite sets. I used holographic nail stickers for the stars and dots, with black gems on the ring finger to match the colors.
I love the rock and roll feel of this manicure! It matches the almond shape and longer length.
Peach and Silver Nails
The contrast between this set’s peach and silver is truly cool. Opting for a feature nail is a great way to mix things up. The little holographic star on the index finger also brings a little glam to the mani. Again, I used stickers for those. Super easy to use and look amazing!
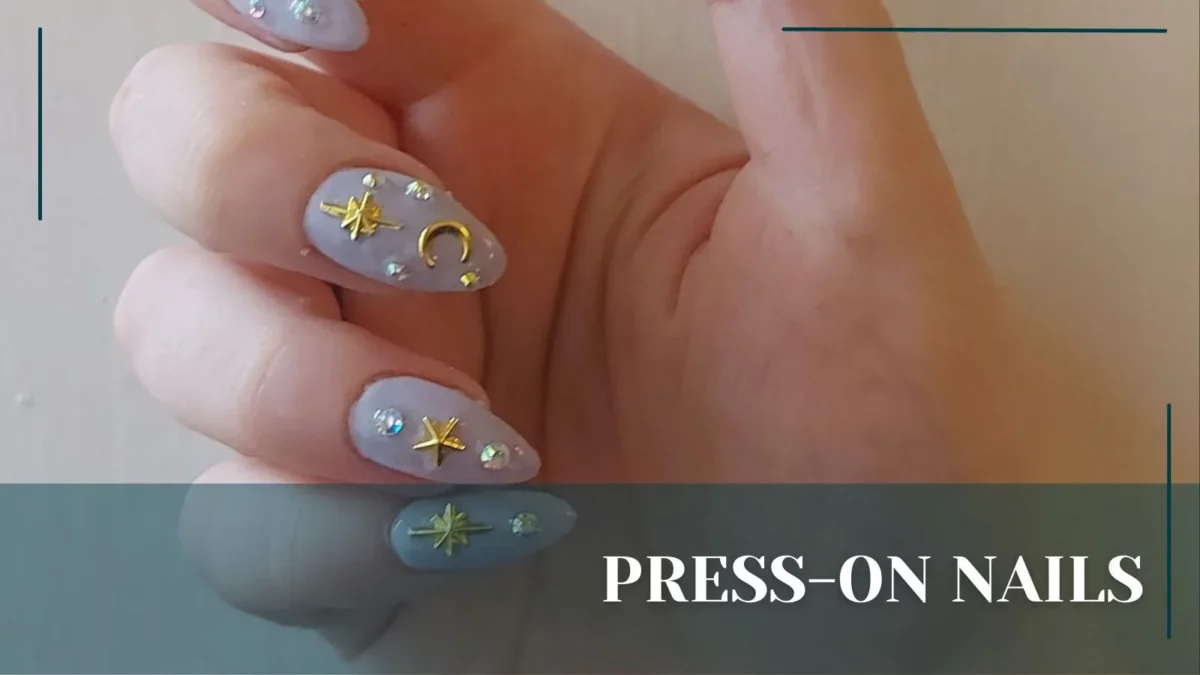
3D Nails
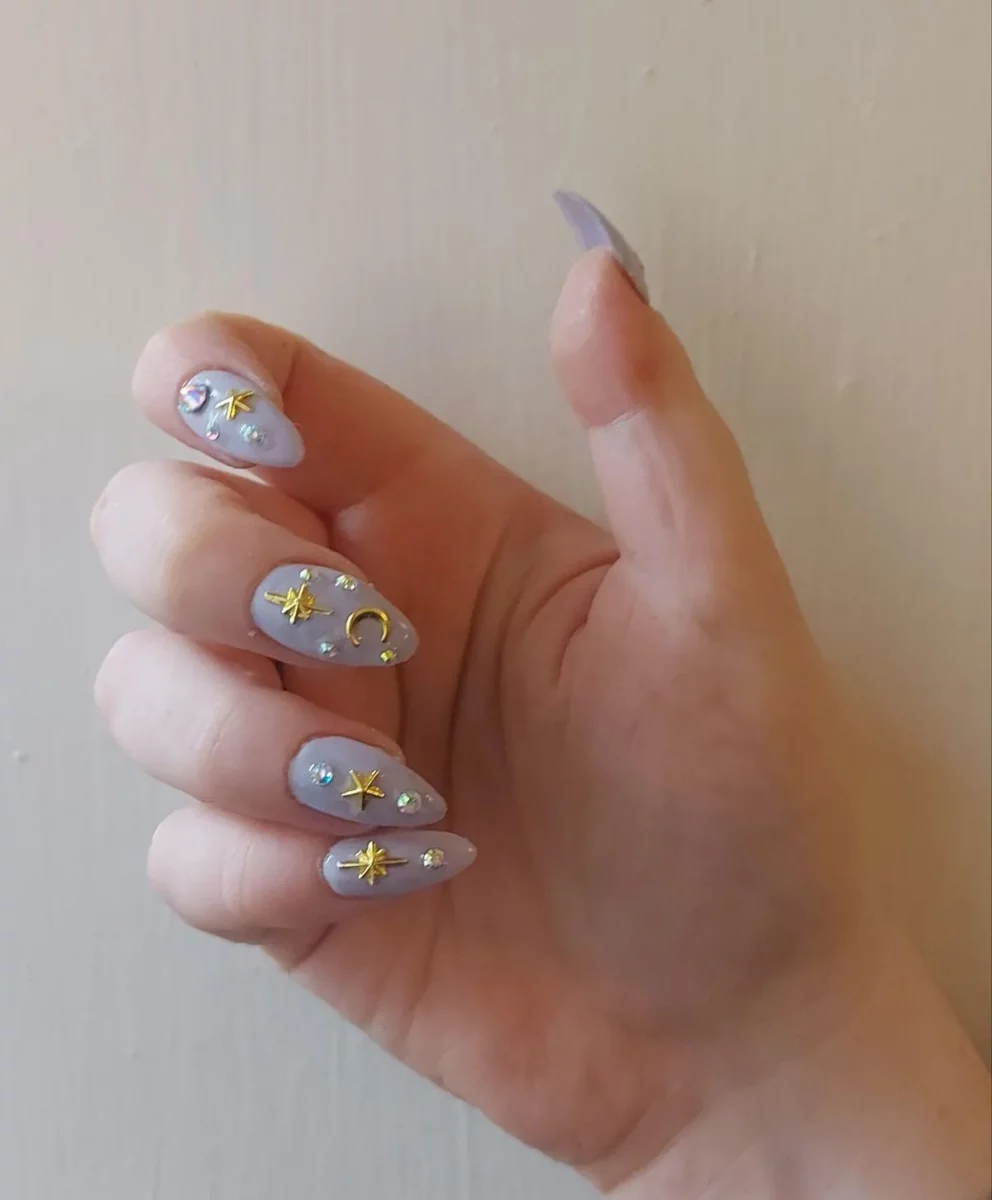
You can tell I love stars and gemstones, right? I purchased some gold 3d stars and moons for this set and contrasted them with a lilac base. Then, I added a few gems to complete the look.
Floral Nails
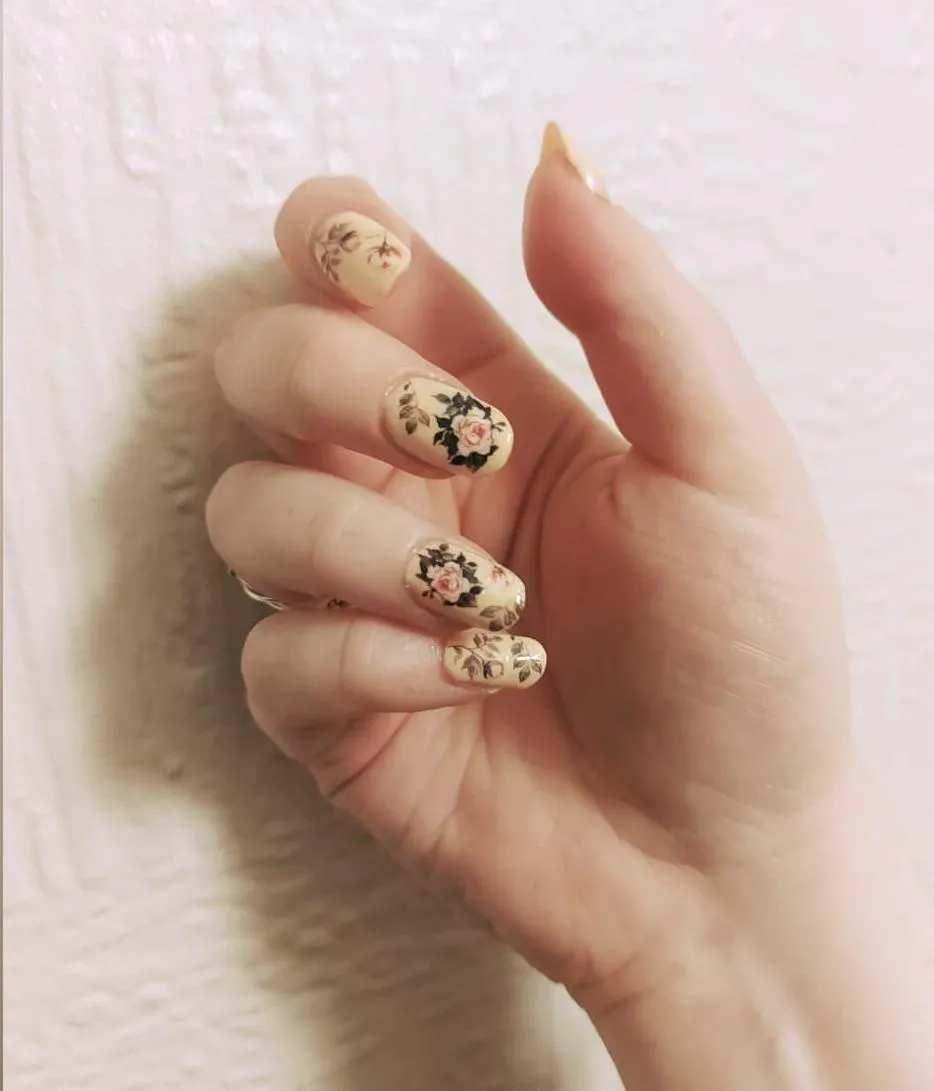
I decided to file the tips down to a square shape for this set and used floral stickers to achieve the vintage wallpaper look. I was in love with this manicure, but I have sadly run out of the stickers and need help finding out where I got them from!
Flame Nails
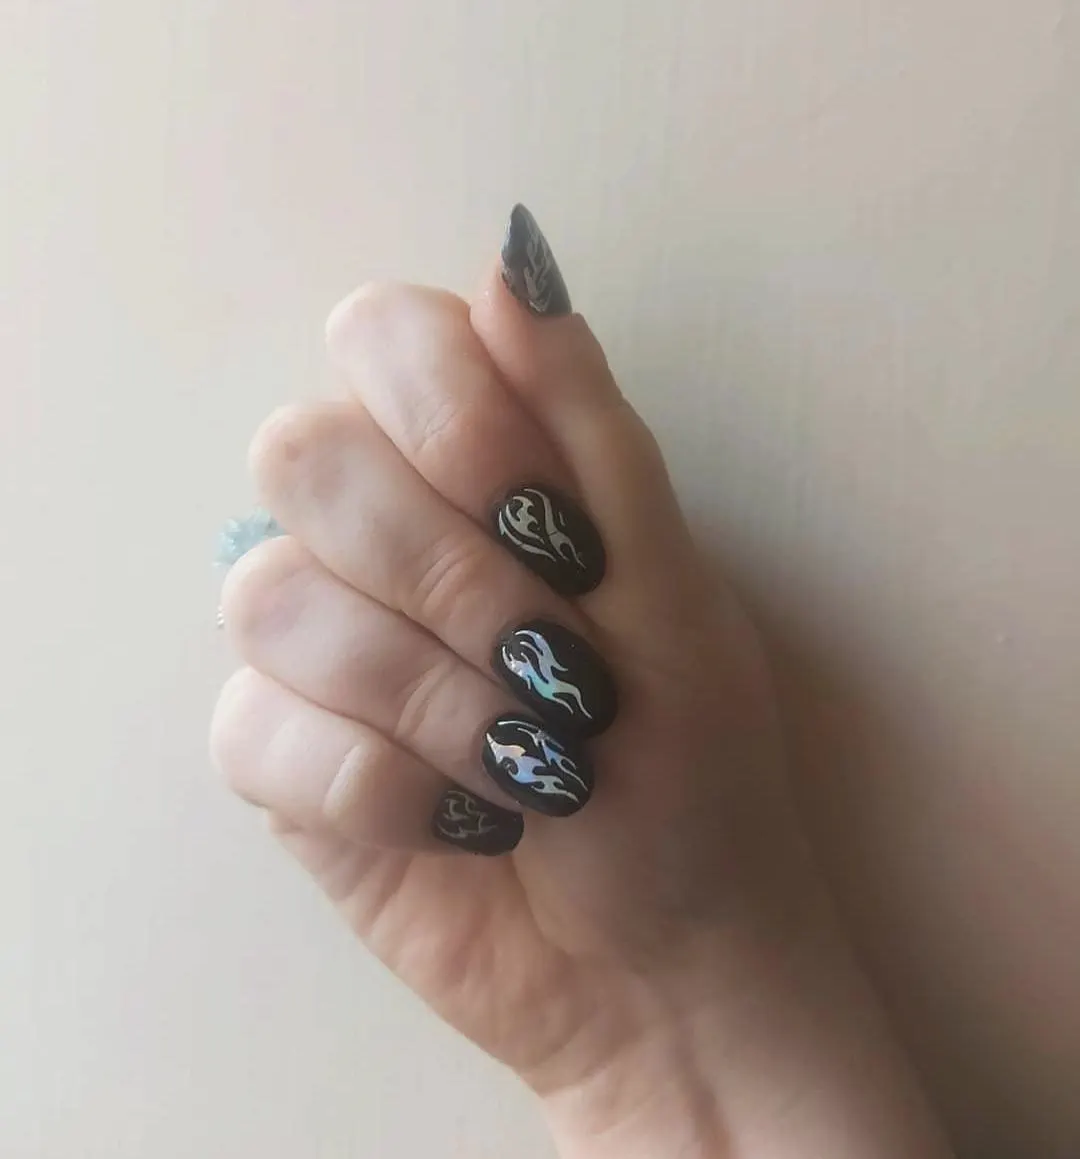
I matched holographic flame stickers against a black background for this manicure to create a grungy set. I cut my nails short, filing the press-on nail tips to a square shape.
Abstract Nails
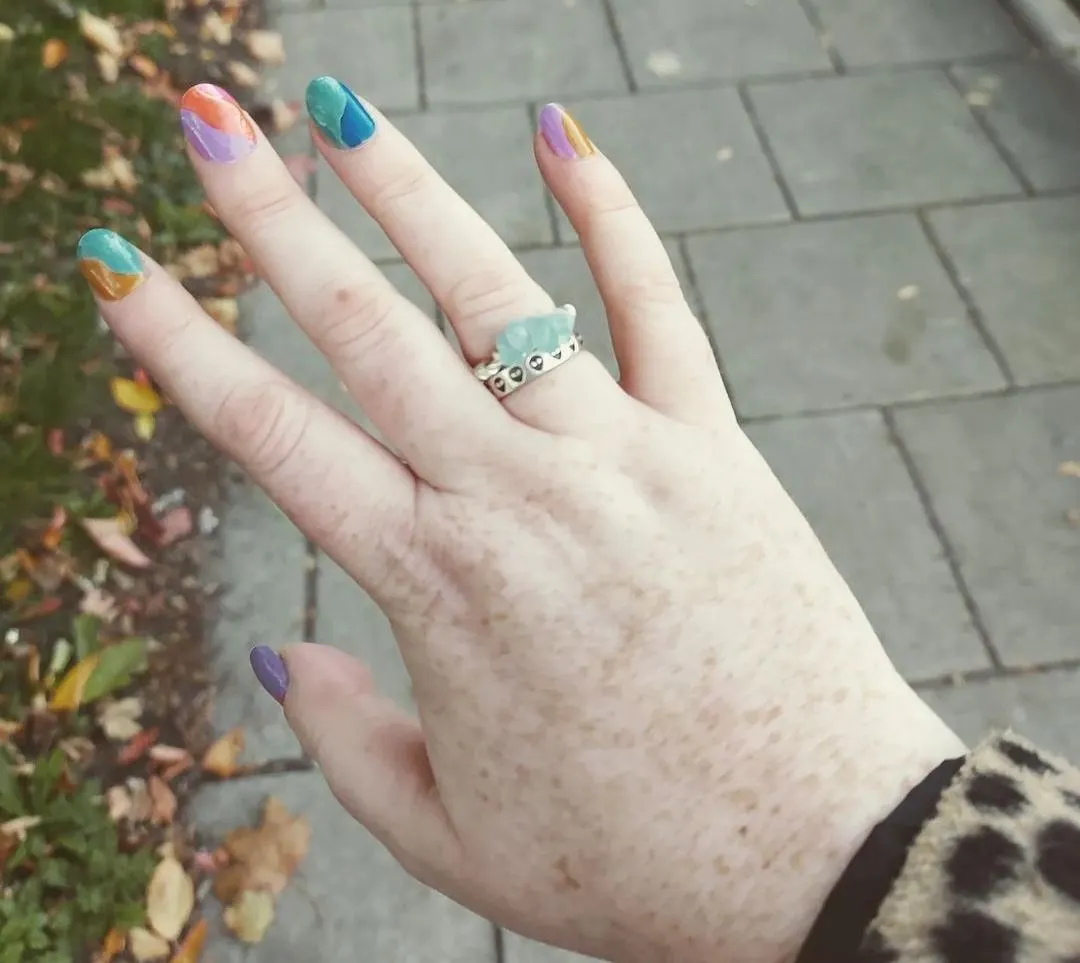
Abstract nails have been trending hard over the last few years, so I wanted to try it out! After gluing on my nail tips and filing them down, I applied color to half the nails and then cured them. Then, I painted a contrasting color on the other half.
FAQ
How Long Do Nail Tips Stay On?
Depending on your nail beds, and your lifestyle, nail tips can last over a week when put on correctly with UV-cure nail glue.
How Do I Stop My Press-on Nails From Popping Off?
To keep your press-on nails in place, make sure you are prepping your nails. Cleansing and buffing your nails before applying the tips means they will last longer. Plus, using UV-cure glue will stop them from popping off.
Are Press-on Nails Ok for Your Nails?
Yes, press-on nails will not damage your nails if used correctly.
Can I Use Nail Tips With Builder Gel?
Yes, you can use nail tips with builder gel to enhance the strength of the nails.
Are Nail Tips Easy To Take Off?
Nail tips are easy to take off. They usually come off by themselves after a few weeks. If not, you can soak them in nail polish remover.