So, you’ve picked out the perfect BB cream, tinted moisturizer, or foundation — but how do you apply it? Look no further than this guide on how to apply foundation and what tools you can use to do so.
One of the most important things to remember is to make sure your face is clean and well-moisturized before you apply foundation. You’ll want to have a good base for your makeup, and this means removing any dirt or lingering makeup beforehand. Before you start with your foundation, let your moisturizer sink in for at least five minutes.
If you use primer, apply that first. Primer will make your makeup last longer and help control oil. Then, choose your selected tool to apply your foundation.
Applying Foundation with A Brush
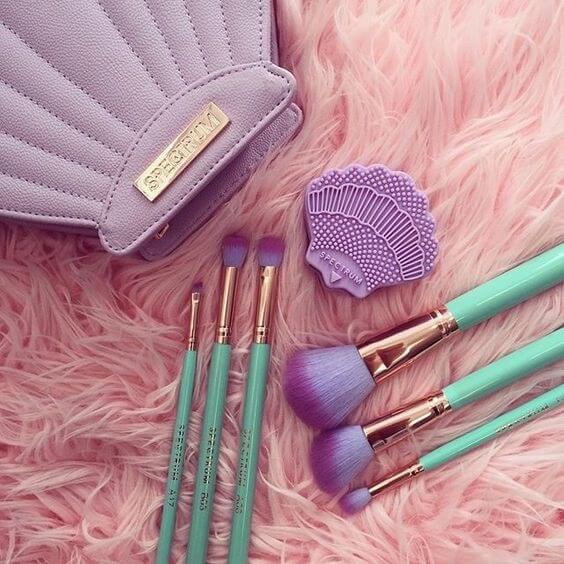
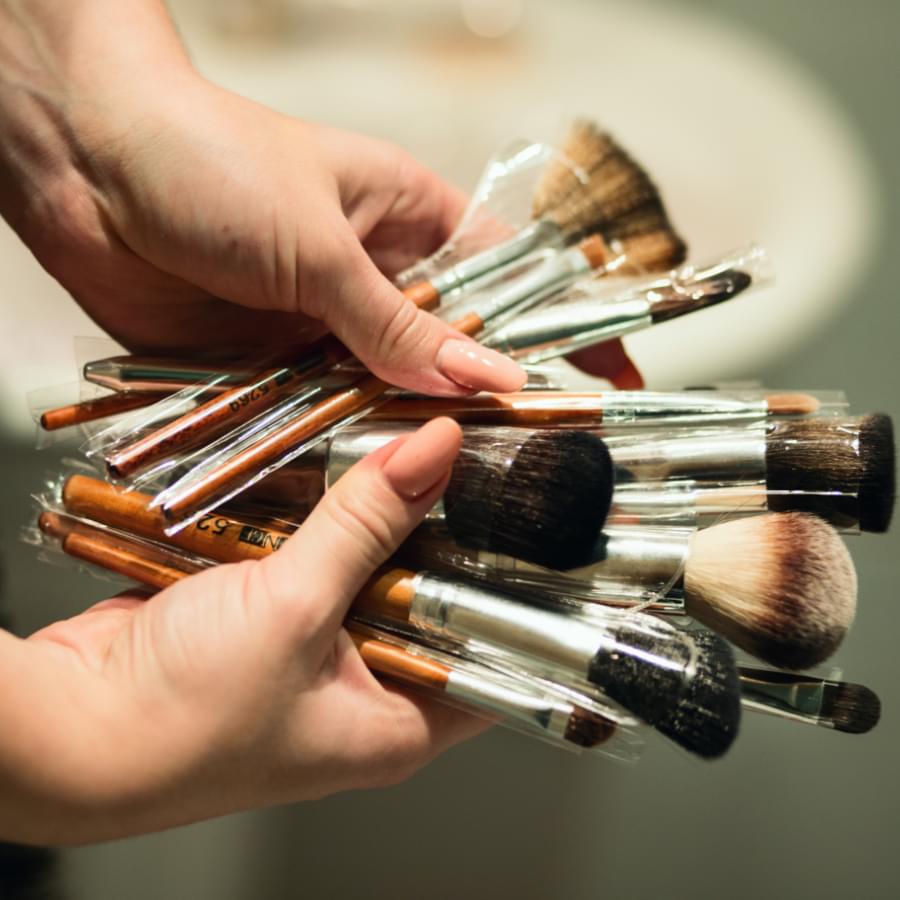
There are a variety of different types of brushes available that you can use to apply your foundation.

If using a liquid foundation, always apply a small amount of product to the back of your hand first, then dip your brush in. Otherwise, you may apply your foundation unevenly if you accidentally get too much product on your brush.
You don’t need a lot — a little goes a long way. Start applying the foundation in the center of your face and blend outward.
There are different brushes you could use for this:
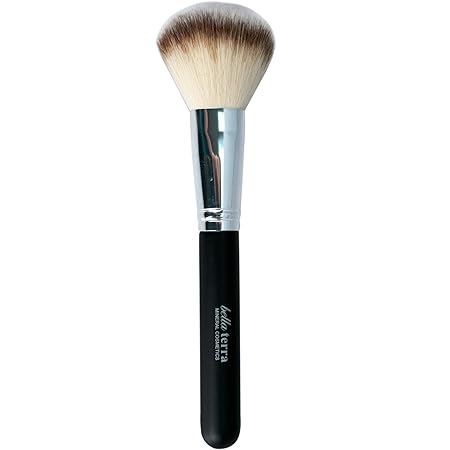
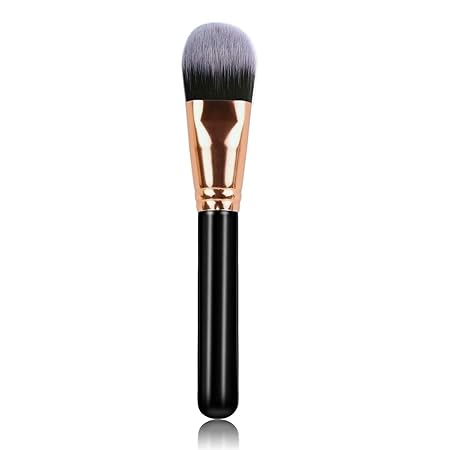
- Standard foundation brush, like Bellaterra Cosmetics Foundation Brush. This brush doesn’t have to be very big. It can be flat, rounded, or angled — it’s up to personal preference. These are perfect for anyone using a full-coverage liquid foundation.
- Stippling or buffing brush, for example, Averes Buffing & Stippling Makeup Brush. These brushes are perfect for blending. Buffing brushes tend to fan outwards a little and are stiffer than stippling brushes. These are great for medium coverage foundations, while stippling brushes are good for lighter coverage formulas, such as a BB cream or tinted moisturizer. Stippling brushes are mostly straight and have flexible bristles.
- Kabuki brushes, like Flat Top Kabuki Foundation Makeup Brush, are large and soft. They are perfect for applying powder or mineral foundation, but you can also use them to apply liquid foundation as well. This brush will make for smooth, gentle application. If applying powder, be sure to tap off the excess before applying it to your face. Then, apply the powder in slow, light swirling motions.
Makeup sponge could be used as well for foundation application.
There are many different makeup sponges available, and they are created to help you blend easily and achieve a natural, flawless finish for your foundation.
After you’ve applied your foundation to the back of your hand, dampen your beauty blender ever so slightly. If you need to, squeeze out the excess water. Then, dip your beauty blender into the foundation and start to dab it on. You can build your coverage really easily with a beauty sponge.
To avoid getting bacteria on your sponge, you’ll need to wash it. This can be a little bit tricky. The Beauty Blender brand makes its own cleanser, but you can use diluted shampoo, gentle cleanser, or even diluted dish soap. You will eventually have to throw out your sponge after six months as it will lose its texture with regular use.
How to Apply Foundation with Your Fingers
A tool that’s cheap, easy-to-use, and that you always have at your disposal is your fingers. The upsides are that you won’t have to purchase any tools, and you can easily keep things bacteria-free just by washing your hands. They also won’t absorb a lot of product, unlike sponges and brushes. However, they may not be the easiest tool to blend with.

To minimize damage to your skin, particularly in the under-eye area, use your ring finger to apply. Don’t just smear it on everywhere — put a dime-sized amount of product on the back of your hand. Then, take your middle finger and apply a bit of foundation to your cheeks, forehead, nose, neck, and chin. This way, you won’t have a lot of product concentrated in one random area of your face.
Regardless of your tool of choice, blend and buff your foundation in small, circular motions until you cannot distinguish between your neck and your face. Try to keep dabbing rather than rubbing. Also, don’t cake on the foundation, as it will settle into fine lines.
Foundation Troubleshooting
Foundation is too heavy for you
If you decide that the foundation you’ve purchased is too full-coverage for your liking, mix your moisturizer with your foundation instead of going out and buying a whole new foundation.
Foundation is the wrong color
If your foundation is too dark, you can try to mix your foundation with bronzer to get a darker color. You could also try mixing it with another foundation that you have to get the right color. If it’s too light, you could try mixing it with pure white foundation or a lighter foundation you may have.
Foundation is too light
If you have a foundation with light coverage, layer it over the areas you need it most and blend.
Setting and Removing the Foundation
When you’ve finished applying your application, set your foundation with some powder. This step is to enforce that your foundation stays in place all day long. You can use a translucent powder such as the NYX HD Studio Finishing Powder, or you can apply a tinted powder for some extra coverage like MAC Mineralize Skin Finish or Ben Nye Banana Powder.
The cosmetics company Ben Nye, famous for their theatrical stage makeup kits, makes many different finishing powders that are fantastic for darker skin tones. On the other hand, those of you with skin tones on the lighter side might be interested in Besame Cosmetics’ Brightening Violet Powder.
If you have oily skin, you may need to go over certain regions with extra powder. If you have dry skin, just use powder in your oiliest areas. You can also try the method popularized by makeup artist Wayne Goss of applying your powder before your foundation.
To remove foundation, use a cleanser, oil or makeup remover.


