So, you want great makeup but have no idea where to start. We’ve all been there: while it seems like some people were born with magical eyeliner abilities, everyone was a makeup beginner once.
There’s nothing wrong with going bare-faced or just throwing on some mascara and chapstick, but sometimes you want to glam it up for a special occasion, have fun with color, or transform yourself into a Kardashian. Especially after seeing girls showing off their amazing before and after makeup photos. How, you ask? How to start wearing makeup the right way? Not to worry, we’ve compiled an in-depth guide to (almost) everything makeup in order of complexity!
How to Start Wearing Makeup For Total Beginners
First, a note: some websites recommend a ridiculous amount of products for beginners. This is, quite frankly, bull crap. You do NOT need to go out spend a bomb on your makeup starter kit.
You can totally start with just 2 products, or 1, or 5— whatever’s right for you. Maybe you want to begin with eyeliner and mascara, or maybe you want to jump right into bright red lipstick. That’s your prerogative, and it’s completely cool.
Another thing. There are several good makeup apps that allow playing with colors, shades, and produces without actually buying anything. Seeing the end result on the screen will reduce the chances of making silly mistakes.
In any case, we’ve compiled a list of four useful products for makeup beginners and how to use them, so feel free to scroll down to whatever product most appeals to you.
For the purposes of this article, we’re going to start at the very beginning, assuming your knowledge about makeup is very limited. Hey, even if you’ve been wearing makeup for years, you might learn something new.
Mascara: The Perfect Start
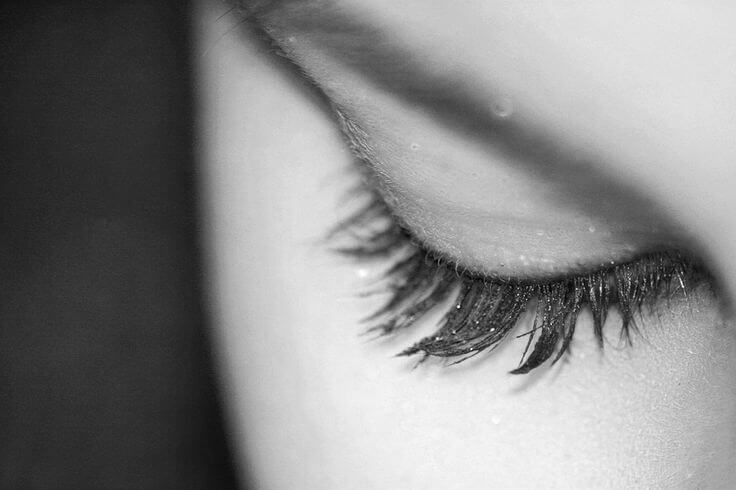
For many people, mascara is the first makeup product they buy or receive. It’s not an obligatory step by any means, but just one coat of mascara can make a huge difference. It really opens up your eyes and can add a hint of femininity without the need for any other makeup. People with light-colored eyelashes may especially find that mascara accentuates their eyes and makes them look awake.
Here’s a fun tip: mascara is mascara. There’s not much of a difference in formulation between most mascaras. The biggest difference is the brush that comes with it, so if you don’t have one you already like, you don’t have to splurge on your first mascara. Drugstore mascaras and high-end mascaras are pretty much the same, and you shouldn’t keep them longer than six months to prevent bacterial infections anyway. A good mascara to start with is L’Oreal’s Voluminous Butterfly Mascara or Covergirl’s Clump Crusher Mascara.
Mascara is not necessarily for everyone — some people have sensitive eyes or dislike the hassle of taking it off at night. That’s okay if it’s not for you: there are plenty of other makeup products that you can play with.
If you can’t stand normal mascara but love how it looks, you might be a perfect candidate for tubing mascara. It’s different from your standard mascara — this stuff coats your lashes with a smudge-proof, water-resistant formula, that is until you want to take it off!
It easily rinses off with water but won’t come off if you cry or sweat, which is perfect for those compulsive eye-rubbers among us. The original tubing mascara was made by blinc. You could also try a cheaper alternative like the L’oreal Double Extend Lash Extension Effect Mascara or the NYX Cosmetics Doll Eye Long Lash Mascara.
How to Apply Mascara
To apply mascara, remove the brush from the tube. Do not pump the brush in the tube; this will cause your mascara to dry out faster. If you need to pick up more product, gently twist the brush in the tube. If you have too much of it, wipe off the end of the brush on the tube.
If you will be applying mascara on the bottom lashes, do those first. Once you have the desired amount on your brush, take your mascara wand and wiggle the brush from side to side while taking the wand from the base of the lashes to the tips. You can apply a couple of coats for a dramatic look or just one coat for a more natural look. Alternatively, for a quick touch of glamour, use the tip of the wand on just the outer lashes for a mascara faux cat-eye. This also is a great method if you find out you just don’t like the feel of full-on mascara.
Eyeliner: A Staple In Your Makeup Routine

Eyeliner is a staple in many women’s makeup routines, whether it’s a quick 5-minute makeup, or a meticulous crafter procedure. With so many products to choose from, it’s easy to get a little overwhelmed. It comes in a rainbow of colors and a variety of formulas, so how do you know where to start? We’ve got you — read on for a comprehensive guide to choosing a type of eyeliner in a color that complements your eyes, with plenty of application tips.
What Eyeliner Color Should I Use?
While many magazines and how-tos recommend black eyeliner as a starting point, it can look too harsh on some. Plus, there are just so many colors to choose from, so why stop at black?
People with blue eyes and pale or light features might find brown or navy eyeliner less harsh or less dramatic than black. Plus, blue or coppery-brown eyeliner will make blue eyes pop. If you have brown eyes, purple is a fantastic choice. There are many different shades and hues of brown eyes, but they all look amazing with plum, violet, or dark blue. Green eyes also look great with purple, but gray and olive green eyeliners are a wonderful option as well.
If you’re feeling bold, teal is a good color, especially for those who have green and brown eyes. If you have blue eyes and want to get in on the teal fun, try doing a thin line of black eyeliner before applying a line of teal on top. Another fun way to use color is to line your top eyelid with black and add a pop of color with an eyeliner pencil on your lower lash line. You can use blue, green, purple, or any color you want.
Eyeliner Pencils
Chances are you probably already have an eyeliner pencil lying around somewhere. But with all kinds of different eyeliner types, colors and price points, things could get a little confusing— and a little smudgy.
To start, we recommend a soft, simple black or brown eyeliner pencil that will easily glide across your eyelid. If you know you’re going to use your classic eyeliner pencil, you might want to purchase an eyeliner pencil sharpener. If you don’t want to deal with sharpeners, you can opt for a twist-up eyeliner pencil instead, like the Revlon Colorstay Eyeliners. NYX makes both pencil and twist-up eyeliners in a variety of different colors, and if you are looking for something more upscale, the Urban Decay 24/7 Glide-on Eye Pencils won’t let you down.
Application tips
For a classic eyeliner look, make sure your eyeliner pencil is sharpened. Then, check the temperature. If it’s not smooth or creamy enough, go ahead and warm it up by rubbing it in your hands.
When you’re ready to start applying, stabilize your elbow on a flat surface to minimize shakiness. Unless you are going for a Cleopatra-inspired look, don’t start a thick line right in the tear duct. Many people find starting around where your iris begins works best, gradually making your line thicker as you reach the outer corner of your eye. Apply the eyeliner as close to your lashes as you can, using short strokes. If you have monolids, don’t be afraid of making your eyeliner nice and thick.
If smudging is a problem for you, you might want to try a waterproof pencil, gel, or liquid liner (see below) to avoid any unwanted messiness. The same goes for hooded eyes: if eyeliner keeps ending up on your crease, try and make your line as thin as possible, or switch to waterproof or liquid. Practice makes perfect, and will help you determine what sort of application is best for your unique eye shape.
Gel Eyeliner
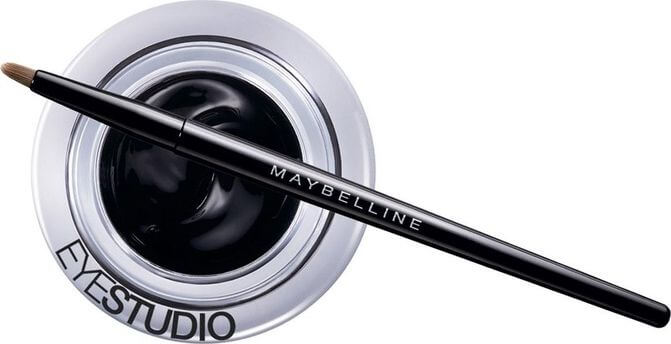
A lot of people prefer gel eyeliner because it can create a sharper line than a pencil. It’s easier to manage than liquid, but will still stay put on your eyes. However, you’ll have an extra brush to wash, so if you don’t want to deal with brushes, skip this section.
That said, a lot of gel eyeliners come with a brush included, such as the Maybelline Studio Gel Eyeliner or the e.l.f. Cream Eyeliner. Colourpop, an affordable online makeup company, has a wide variety of gel eyeliners in different colors for a good price, but their Creme Gel Colour eyeliner doesn’t include a brush. If you’re looking for something higher end, many people swear by MAC Fluidline Eye Liner Gel (brush sold separately).
How to Apply Gel Liner
Dip a thin, angled brush into your pot of eyeliner. The trick is to get the right amount of gel liner on your brush. Don’t skimp on a product or you’ll get disappointing results, but don’t get your brush all chunky either. If you have too much product, just wipe off the excess. You can dip your brush into the eyeliner pot, or twist it around to pick up the product. Don’t worry if you mess up – have a tissue on hand until you get the hang of it.
You can try pulling your skin tight across your lid for an easier application or apply normally. Drag the eyeliner brush across your eyelid in one big sweeping motion, then go back and fill in any gaps. You can also make tiny strokes across the eyelid, but you’ll want to work quickly before the eyeliner dries. Be sure to wipe off your brush before you move on to the second eye!
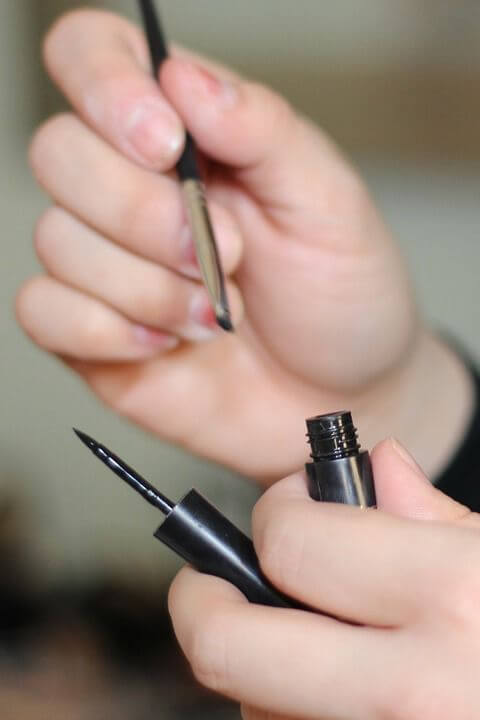
Liquid Eyeliner
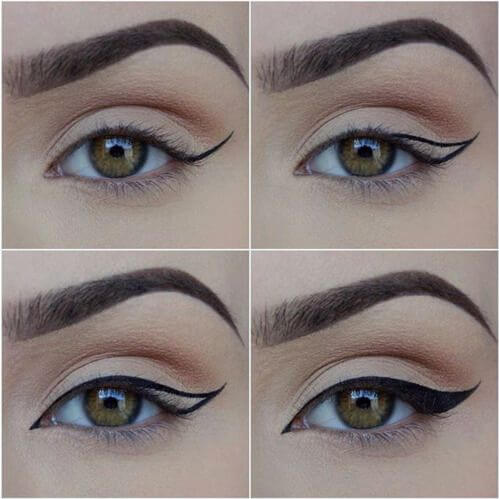
Liquid eyeliner is the favorite of cat-eye aficionados, so if you like this style of eyeliner you might consider it. This is not to say that you can’t do a cat eye with a pencil or gel eyeliner — you absolutely can! But there’s something about liquid eyeliner that is perfect for cat eyes: it’s sharp, pigmented, and won’t budge.
There are generally two versions of liquid eyeliner available: one that looks more like a paintbrush attached to a cap, or one that looks a bit more like a pen or a felt-tip marker. The advantage of the marker eyeliner pen is that it’s steadier and easier to draw a line, but it may not be as pigmented as the liquid paintbrush form. With time and practice, you may find you prefer the swoosh of a brush to the marker, or you just might stay loyal to the easy-to-use eyeliner pen.
For a higher-end eyeliner pen, many people swear by Kat Von D’s Tattoo Liner or the Lorac Front of the Line Pro Eyeliner.
If using the brush type of liquid eyeliner is more your jam, try Almay Intense I-Color Liquid Eyeliner.
Application tips
Most people use liquid eyeliner to do a cat-eye, but it’s not the only look you can do. If you want to try it, the secret to perfecting this look is simply to practice. Everyone’s eye shape is different, so you might have a lot of trial and error before finding the right method for you. There are tons of tips and tricks to getting that perfect cat eye, so if one way doesn’t work for you, you can try a different one. You can always hit up YouTube for tutorials if you’re still struggling.
The motion in which you draw the cat’s eye is up to personal preference. Some people start from the tear duct and end with the flick in one smooth motion. Others begin with the outer point of the flick and slowly move inwards and across the eye, as seen in the above photo. You can also do a stroke on each eye at a time to ensure symmetry.
Note: the goal, much like eyebrows, is to have sisters, not twins — most people’s eyes are slightly different shapes. You’ll end up frustrated if you try to make both cat-eye flicks exactly the same, so try and aim for an approximate likeness. Don’t fret if your flicks are a little bit off. If you mess up, a great way to fix your wing is to grab a q-tip and some makeup remover (olive oil or coconut oil will also work in a pinch) to easily smooth out your lines.
If this is your first time doing a cat-eye, you may want to try lightly drawing the outline with an eye pencil first, slowly going over with liquid eyeliner after. Since you can easily wipe off pencil eyeliner, you can perfect the shape before applying liquid eyeliner. Beginners also might find it helpful to place little dashes and dots across the eyelid that they can then connect. Start with a small wing — you can always make it bigger later.
An Alternative Approach
It’s worth mentioning that it is actually possible to create makeup without eyeliner. Whether it’s by judgment or simply an escape from an unfavorable situation – you can create lovely eye looks with eyeshadow only. How? Check the link to find more.
Face Products: Something For Your Complexion
It’s desirable to have a perfect complexion. So. the next makeup tool to have in your arsenal is a product for your complexion.
Picking the right foundation is one of the hardest things to get right, so we’re not going to get into that just yet. Instead, BB creams and tinted moisturizers tend to have more sheer coverage, so it’s less tricky to match to your skin color. Plus, they provide moisture and often SPF, which is fantastic!
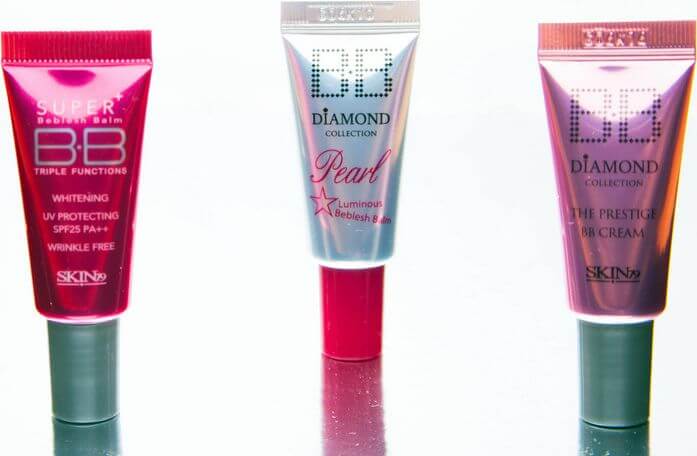
BB Creams
BB creams first arrived on the Western beauty scene in 2011 after their huge popularity in South Korea and in the Asian market. The acronym “BB” stands for “blemish balm” or “beauty balm”.
These creams often claim to be packed with ingredients that are actually beneficial for your skin. The benefits of using a BB cream are the SPF and anti-aging properties, the fact that you don’t need to mess around with a brush, and how lightweight it feels. Many makeup lovers prefer BB creams to the foundation because they give you a healthy glow without the heaviness of a foundation, allowing your skin to breathe. The coverage may be more or less buildable depending on different brands, and the SPF will also vary.
If you have a light/medium skin tone, Maybelline’s various BB creams have 3 different lighter shades that might work for you. At Sephora, many people love Smashbox’s Camera Ready BB Cream which comes in 8 shades, mostly on the lighter end of the spectrum.
If you have light/medium skin with warm undertones, Marcelle Light to Medium BB cream may be right for you, as it leans towards yellow rather than pink.
If you have a medium/deep skin tone, Maybelline’s BB creams in the shades Medium/Deep and Deep could work for you. The two best options for darker and deeper skin tones are Iman Cosmetics and Kiss New York. Iman Cosmetics’ Skin Tone Evener BB boasts 6 shades in total with a decent amount of variety, as does the Aqua Beauty Balm by Kiss New York.
Tinted Moisturizers
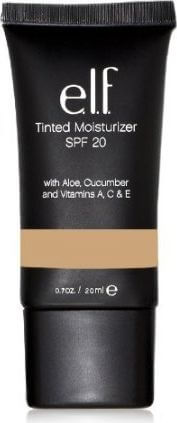
Tinted moisturizers do much of the same illuminating and moisturizing as the BB creams but without the anti-aging or skin repair claims. However, they might be better for someone who prefers the lightest coverage or has dry skin. As the name suggests, they are probably more moisturizing than the BB creams and therefore perfect for the winter months or for anyone who lives in a dry climate.
Their appeal lies in their multitasking ability— instead of applying a moisturizer and a foundation in two steps, you can simply apply the tinted moisturizer and be good to go. You might want to try Laura Mercier’s Illuminating Tinted Moisturizer which comes in whopping 15 diverse shades.
Application Tips
Both BB creams and tinted moisturizers can be applied with either a brush, beauty sponge or your fingers. The easiest method by far is to use your fingers. You can either squeeze the product directly onto your fingertips or onto the back of your hand. You won’t need a lot — start with a blob approximately the size of a dime. Then, dab the BB cream or tinted moisturizer onto your face in little dots. The dots should be evenly distributed. Blend the dots into your skin using light, circular patting motions. Be sure to take extra care around your under-eye area. If you need any extra coverage in certain areas, go back and apply product there.
If using a beauty sponge (such as a Beauty Blender or any sponge formulated for cosmetics), you have the option to lightly dampen your sponge before applying the product. Whether or not you do this will depend on your sponge and your skin type, so try both ways to see which works for you. If you get your sponge too wet, be sure to squeeze out the excess water before applying makeup. You’ll want to apply the product to the back of your hand and either use your fingers or the sponge itself to apply the same dots as before to your face. Blend out the BB cream or tinted moisturizer with the sponge using small tapping motions and light, outward strokes.
Lastly, if you have a foundation brush, take your desired product and squeeze a small amount out onto your hand. Dip the brush in the product and softly apply to the face using circular motions. Be sure to go over any areas which need extra coverage.
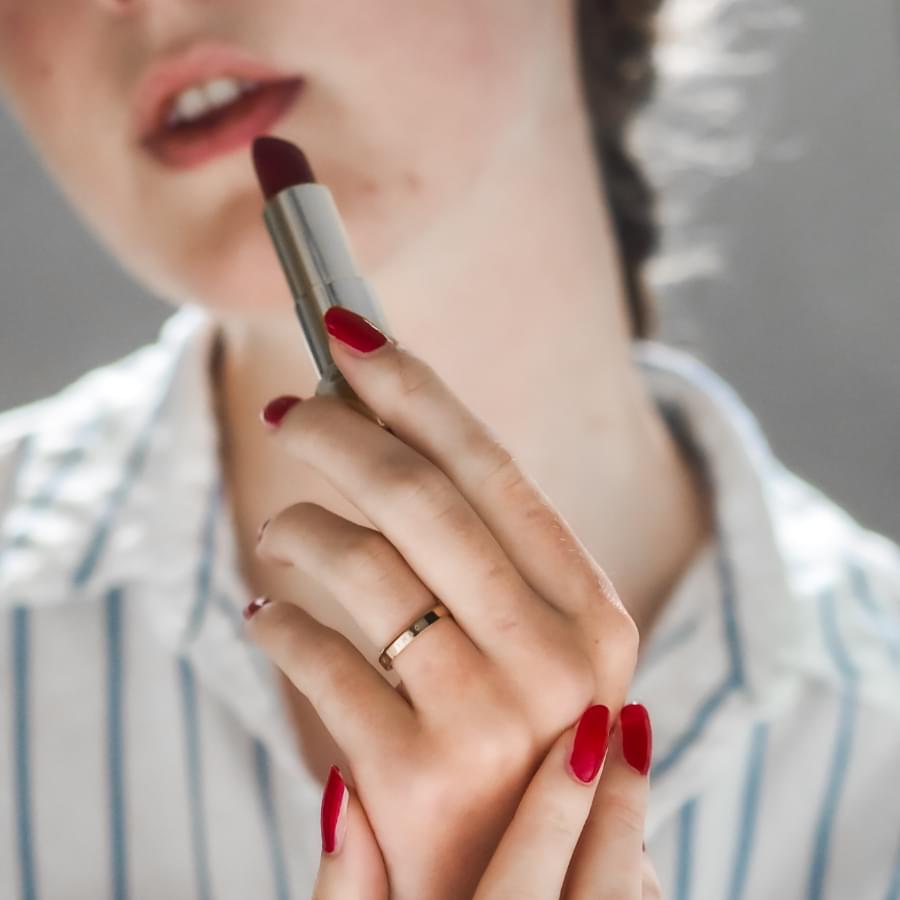
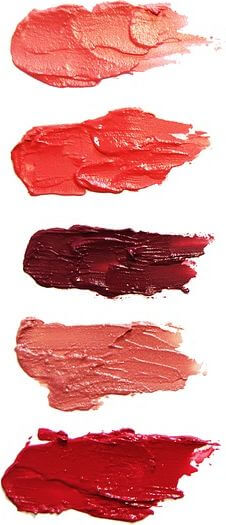
Lip Products: Let’s Get This Tempting Look
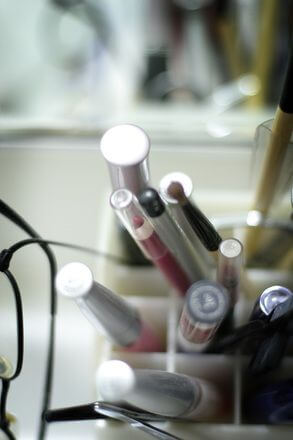
For our fourth and final section in our makeup basics list, we’re giving you the low down on tinted lip balms, lip gloss, lip stains, and sheer lipsticks. These products are perfect for anyone who is just getting into makeup because once you apply them, you don’t have to worry about touching up if you don’t want to — they’ll fade evenly and you probably won’t even need a mirror to reapply. They can get you used to wear some color on your lips without jumping straight into bold purple liquid lipstick that lasts for 20 hours. Whether it’s clear, pink, orange, red, burgundy, or even purple, there are so many glosses and sheer lip products you can choose from.
Tinted Lip Balm
Tinted lip balms are fantastic because they provide a wash of color while keeping your lips hydrated and moisturized. Burt’s Bees is a brand that a lot of people are loyal to, and they make several different tinted lip balm products to choose from. Their natural tinted lip balm has 6 sheer wearable shades, so you can try out a bunch of fun different colors. Palladio also makes a best-selling tinted lip balm that comes in 9 shades.
How to apply tinted lip balm
Applying tinted lip balm is easy: all you have to do is remove the cap and apply just as you would regular chapstick. If you get any tinted lip balm on your lip, cheek, or chin, just wipe it off. It won’t leave a visible mark.
Lip Gloss
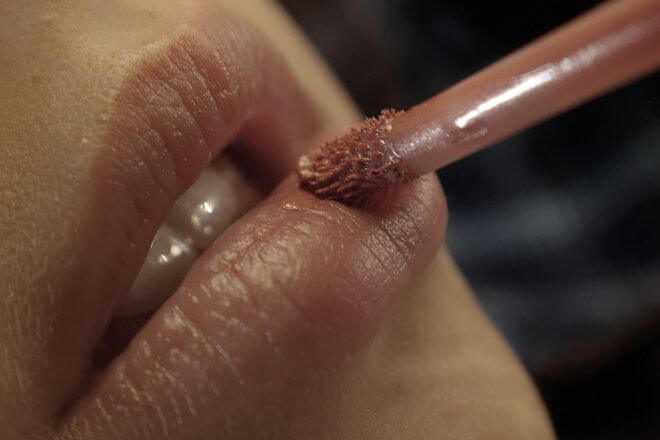
Lip gloss is great for when you want a little sheen without going overboard. Make your lips look fuller, pull your look together, or just enjoy the sensation of putting something shiny on your face. Some glosses are quite pigmented, and they can provide moisture too. If you like the idea of red lipstick but aren’t quite ready to take the plunge, a red lip gloss is a great way to test the waters, and you can blot or layer to desired opaqueness.
NYC makes a lot of affordable options, and NYX Butter Glosses come in a lot of different colors. Lip gloss is the classic gateway drug to lip product obsession, so be warned.
How to apply lip gloss
If you have chapped lips, consider exfoliating before applying lip gloss. To do this, press a wet washcloth to your lips and gently move in circular motions. After, apply a lip balm or chapstick. When you’re ready to apply lip gloss, take the applicator and apply to the middle of your bottom lip. Spread the gloss evenly to fill in your lip before moving on to the top lip. Use the same method for your top lip — apply the product to the fullest part of the lip, then spread towards the edges. If you make a mistake, use a damp tissue or q-tip to remove the gloss.
Lip Stains
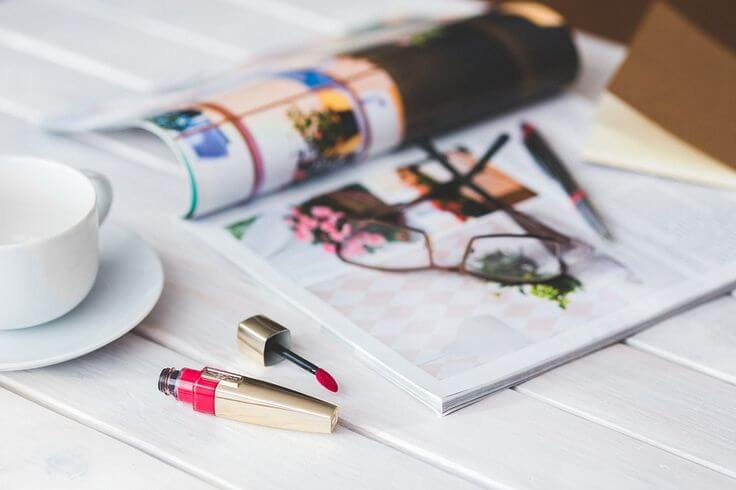
Lip stains are products that tint your lips for an extended period of time, yet don’t require constant touch-ups or reapplication. Long-wearing and smudge-proof, they won’t come off during eating or drinking. Sound good?
A lip stain like L’Oréal Colour Riche lip gloss starts off as a gloss and fades to a stain that will last you for hours. For a bit of luxury, you might like the YSL Glossy Stain, which will last you all day and won’t dry your lips out. If you have a normal lipstick you don’t feel comfortable wearing yet you can always blot it with your finger to create a stain as well.
How to apply a lip stain
It is even more important for lip stain wearers to properly exfoliate their lips before application. Use a lip scrub or wet washcloth to gently exfoliate, and moisturize with chapstick or lip balm if necessary. When you apply your lip stain, follow the natural curve of your lip line before filling in the rest of your lip with the applicator. Do this for your bottom lip and then your top lip. If you need to blot, take a tissue and gently press it against your mouth. This is a great way to make a bold lip color more wearable or to fix the mistake of adding too much product.
Sheer Lipstick
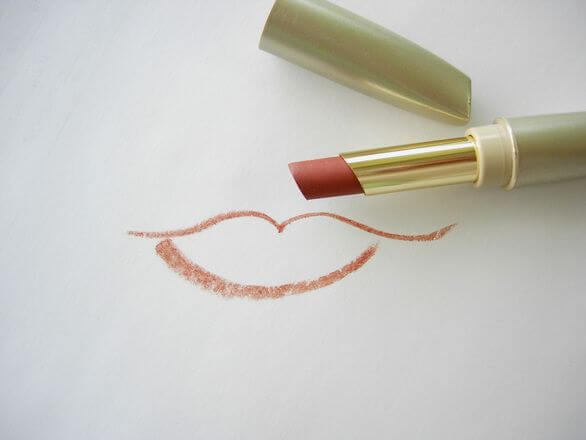
If you’re looking for something that’s not as sticky as a gloss but not as permanent as a lip stain, sheer lipstick is a great way to try out some color. It’s way more comfortable than a matte lipstick and you can build up opacity to your preference. Given their versatility, there are a ton of products you can choose from if you’re thinking of buying sheer lipstick.
At the drugstore you’ll find that Revlon has a variety of products that fall under the sheer lipstick category: the ColorBurst Balm Stains, which are kind of a mixture between a lip balm and a stain, and the Lip Butters, which are moisturizing lipsticks that feel great and fade evenly.
Urban Decay’s sheer lipsticks are comfortable and easy to apply. Some of their shades are pretty bold if that’s what you’re looking for. However, Clinique may be the leader of the sheer lipstick game. You might have heard of Clinique Black Honey, a universally flattering red-brown shade that makes up part of their Almost Lipstick line. They also make the Chubby Stick Moisturizing Lip Colour Balm. Both are fantastic sheer lipsticks that come in a ton of shades.
How to apply sheer lipstick
To apply sheer lipstick, place the bullet in the middle of your top lip, just below your cupid’s bow. Slowly apply following the curve of your upper lip, filling in any gaps if necessary. Repeat for the bottom lip, using the skinnier part of the bullet around your lip line. Use a makeup wipe or wet tissue to remove any excess product, especially around the inner corners of your mouth.
That was a long article covering all the basics considering makeup. As you’ve probably guessed, this area is unlimited. But for now that you’re armed with makeup knowledge, you can start experimenting and grow your experience! Have fun!